
In a previous post, we’ve seen how to use the Agora SDK with React. Now that everyone’s complaining about “React fatigue” — let’s use Svelte for a change. To get started with Svelte, we’ll use SvelteKit: the official application framework from the Svelte team.
SvelteKit simplifies adding features like server-side rendering, preloading, and prerendering while optimizing build sizes for individual pages. It uses Vite under the hood, making everything “blazingly-fast”. We’ll learn how to use the Agora Web SDK with SvelteKit by building a simple video conferencing application. We’ll use SvelteKit loaders to secure access to the calls with channel tokens.
Creating an Account with Agora
Sign up for an account and log in to the dashboard
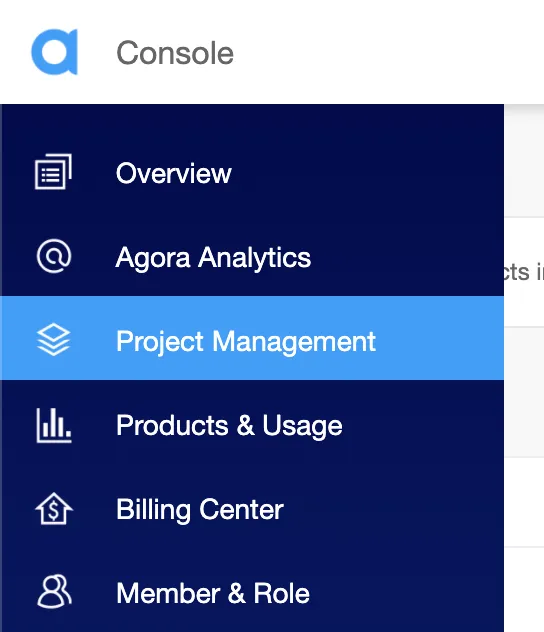
Navigate to the Project List tab under the Project Management tab, and create a project by clicking the blue create button. (When prompted to use a certificate, select App ID + Certificate.)
Retrieve the App ID and the App Certificate, which we’ll use to authorize the app requests as we develop the application.
Prerequisites
Initialize the Project
You can get the code for the example on GitHub. Or you can create a new SvelteKit project to follow along. Open a terminal and execute:
> npm create svelte@latest my-app
# ┌  Welcome to SvelteKit!
# │
# ◇  Which Svelte app template?
# │  Skeleton project
# │
# ◇  Add type checking with TypeScript?
# │  Yes, using TypeScript syntax
# │
# ◇  Select additional options (use arrow keys/space bar)
# │  Add ESLint for code linting, Add Prettier for code formatting
# │
# └  Your project is ready!
> cd my-app
> npm install
> npm run dev
# Server is started on http://127.0.0.1:5173/
Structure of the Project
This is what your project directory should look like:
├── package.json
├── src
│   ├── app.d.ts
│   ├── app.html
│   └── routes
│       └── +page.svelte
├── static
│   └── favicon.png
├── svelte.config.js
├── tsconfig.json
└── vite.config.ts
We’ll work in the /src folder. When we’re done, it will look something like this:
.
├── package.json
├── src
│   ├── app.d.ts
│   ├── app.html
│   └── routes
│       ├── call
│       │   └── [channel]
│       │       ├── +layout.ts
│       │       ├── +page.server.ts
│       │       ├── +page.svelte
│       │       └── Videocall.svelte
│       ├── +page.svelte
│       └── styles.css
├── static
├── .env
...
.
We’ll create a new file for the environment variables called .env and add the Agora App ID and App Certificate from the previous step as:
PUBLIC_APP_ID=c0c4e9a283a***********
APP_CERTIFICATE=c18faddfa***********
With the setup out of the way, let’s write some code.
Writing the Code
At the heart of SvelteKit is a file-system-based router, where you can define routes in src/routes by creating a +page.svelte file. This file runs on both the server and the client. Let’s start by creating the index route src/routes/+page.svelte:
We can use a <script> tag to define values and functions that can be accessed in the markup. We create variables for the channel name and the user UID, and we initialize them with default values.
In the markup, we can access the values with curly braces, such as {variable}. For an <input> element, we’d be tempted to write an event listener that updates the variable with the value entered by the user. But we can use the bind:value directive which makes it easier by setting up two-way data binding. This keeps the “state” variable in sync with the user input.
Using the on:click directive for the <button> tag, we can call the handleClick function. This function redirects the user to /call/<channel> route, with the UID set as a query parameter.
Call Route
Let’s create this call route next by creating a new file, src/call/[channel]/+page.svelte. Notice the [channel] directory, this lets you use a variable/slug from the route. We’ll use this later.
This file is executed on the server. The return value from the load function will be available to the call page and in turn to the video chat component. We’ll use the RtcTokenBuilder function from the agora-token package to create an access token.
We’ll pass in the App ID, App Certificate, channel name, UID, user role, and token/privilege expiry time to generate the token. Finally, we can return the created token, UID, and channel in an object to access in the video chat component.
The video chat component
We’ll create a file alongside the call route for the video chat component src/routes/call/[channel]/Videocall.svelte. We’ll write out the video chat logic here and then import it in the +page.svelte file we created before:
After importing the required packages, we can get access to pageData with the export statement. And we can use that to get access to the channel name, UID, and token.
We can then declare variables to store the remote users in the call and the local video and audio tracks. We can then create an Agora client, which we can use to attach event listeners, join the channel, and publish the local tracks in the init function.
When a user joins the call and publishes their audio, we subscribe to it and play the track. When they publish their video, we subscribe to it and add them to the user array. Notice that we reassign the array instead of mutating it: this is how Svelte knows to update the DOM. When a remote user leaves the channel, we get an event and filter the user out of the user array, making sure to reassign the value.
We’ll also define a renderVideo function to render the remote user’s video track by calling the play method on the track. The function accepts a div’s ID to render the video, so we’ll use the remote user UID. We’ll also define a function for onDestroy to clear the user array, close the audio and video tracks, leave the channel, and remove all event listeners.
Before we close the <script> tag, we’ll create some reactive statements using the $ symbol: these run each time some state is updated. The columnTemplate statement calculates the CSS styling for rendering a grid of videos based on the number of users.
The video chat markup
For the markup, we use an {#each} block to map over the user array and render individual user’s videos. We’ll use the use directive to call the renderVideo function when a user is added to the DOM. We’ll create a div with id=”me” to render the local user’s video. Notice how we use the columnTemplate statement for the grid-template-columns CSS attribute:
Here’s the rest of the CSS we’re using:
Wiring it up
We can now use this Videocall component in the +page.svelte file by modifying the script from before:
We use the onMount function from Svelte to make sure the component is rendered after the DOM is loaded. To give the video chat component access to the page data, we'll also write the export statement as before.
Finally, to render the dynamic component, we’ll use a <svelte:component> tag, passing in the data and setting this value to the import:
To render the video chat component only on the client and not the server, we can create a +layout.ts file in the call route and set SSR (server-side rendering) to false as follows:
export const ssr = false;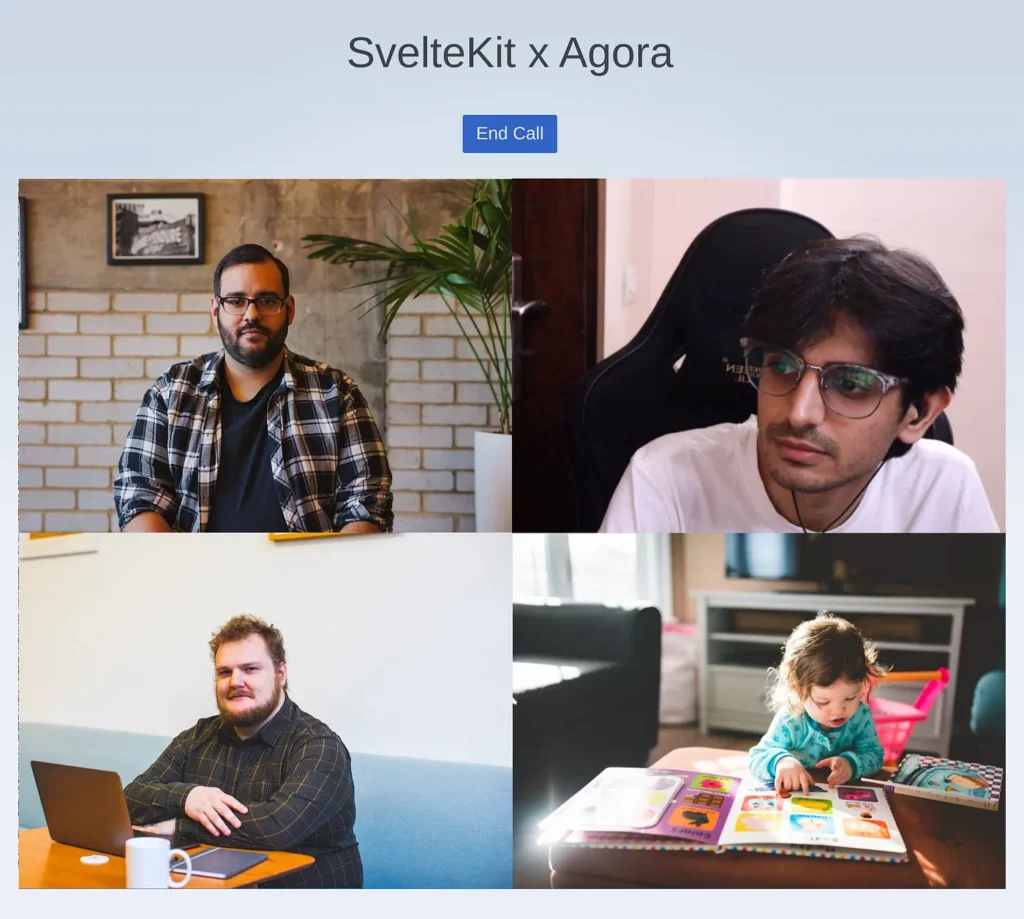
Conclusion
Svelte takes a really fresh approach to writing front-end web apps, and using SvelteKit makes writing full-stack apps easier than ever. Using the Agora SDK alongside Svelte makes building real-time engagement apps painless.
You can learn about other Svelte features here. You can read more about the Agora SDKs here.


