
Over the past 4 years, real-time voice and video communication has become a fundamental feature in digital life. Every app (native and web) that connects users digitally needs to have some form of live voice/video communications because having only text chat is no longer enough.
Fortunately for developers like us, there has also been an explosion of solutions, too many to name at this point. The one attribute that all of these solutions have in common is they are all complex to implement, well almost all of them. In this guide, I want to show you the easiest and fastest way to add real-time voice and video communication directly into your React web app.
This project will use the Agora React SDK for the live video because it offers the simplest yet most powerful API for live video streaming and communication. In the Agora system, users are grouped in channels, so as long as all users connect to the same channel they will see each other. This makes it simple for us to build a web app where users can enter a channel name and connect.
Prerequisites
- A basic understanding of React
- An Agora Developer Account — Sign up here
- A web host — I like to use Netlify or Vercel
Creating an Account with Agora
Sign up and log in to the dashboard.
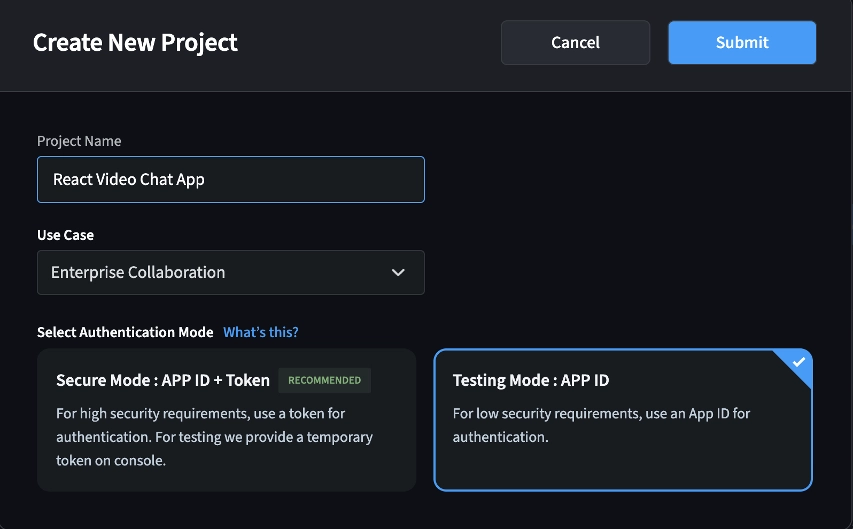
Click the “New Project” button. Name your project and select your use case. Under “Select Authentication Mode,” select “Testing Mode: App ID,” and click “Submit.”
Retrieve the App ID, which will be used to authorize your requests while you’re developing the application.
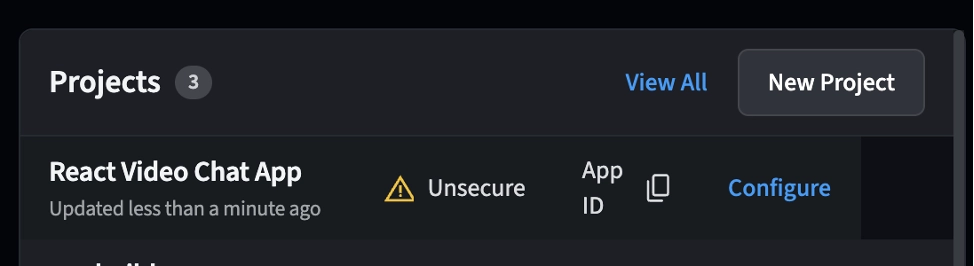
Note: This guide does not implement token authentication, which is recommended for all RTE apps running in production environments. For more information about token-based authentication in the Agora platform, see this guide.
Project Setup
To kick things off, let’s set up our development environment. Open your terminal and initiate a new React project using Vite. Execute the following command:
npm create vite@latest live-video-webappWhen prompted, choose "React" as the framework type and "Typescript" as the variant.
Install Packages
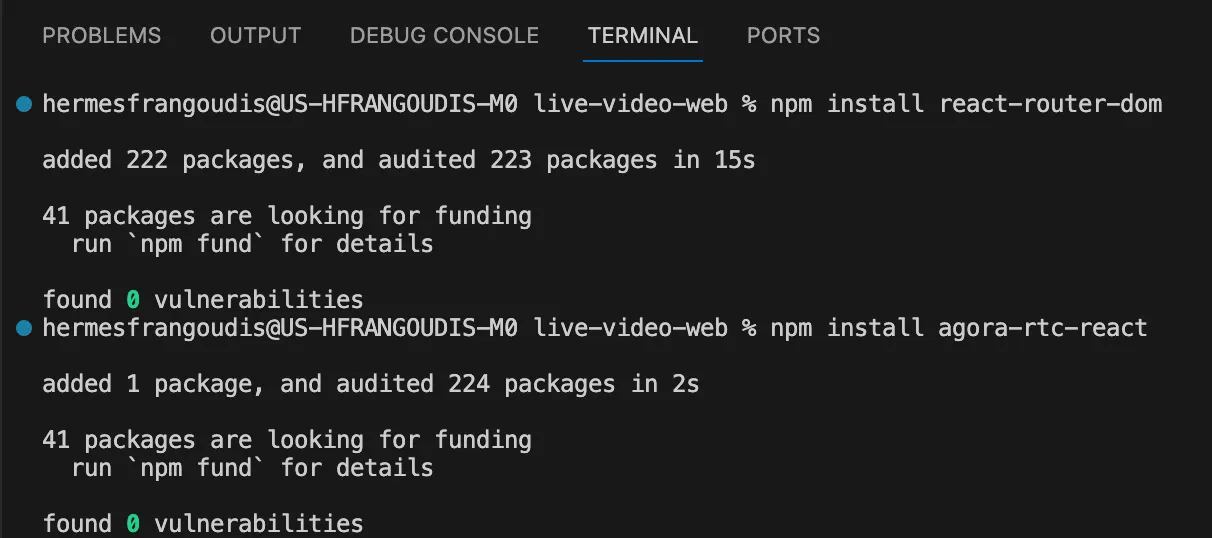
Now that our project is set up, we can open the project folder using your code editor of choice, mine is VSCode. Once the project is open in VSCode, use the built-in terminal window to install the two packages we need:
- React Router DOM:
npm install react-router-dom - Agora RTC React:
npm install agora-rtc-react
Build the Components
We are ready to start building our components. For this project we’re going to Keep It Super Simple and have only 2 components: a form for users to enter the channel name; and another component for users that are connected to the given channel.
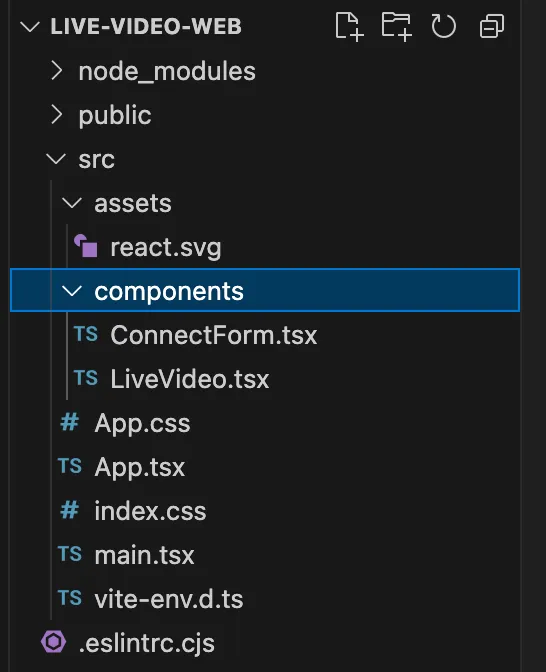
In the project’s src folder, create a subfolder, and name it components, then within the folder create two files:
- ConnectForm.tsx
- LiveVideo.tsx
<ConnectForm /> Component
Navigate to the ConnectForm.tsx file. Here, we'll declare the ConnectForm component, equipped with a prop that accepts a callback function. This callback will pass the entered channelName back to our main application.
Form
First, set up the html form with an input for the channel name, and a button to submit the form. We’ll set up a state-based variable for the channelName. Usually, forms like this have some sort of image above the input, we can add the react logo to act as a placeholder.
Next, add a function handleConnect that will get called when the form is submitted. When a user submits the form we want to pass the channelName to the connectToVideo function so that we can use it in our <LiveVideo /> component.
One thing we need to keep in mind is the channelName can’t be blank or contain spaces. To make sure we pass a valid channel name, let’s add a simple validation to trim the input and check if it’s an empty string. Once the input string has been validated we can pass it to the connectToVideo callback. We can add a simple validation message to let the user know if they input an invalid value for channelName.
Create <LiveVideo /> component
Moving on to the LiveVideo.tsx file, let's declare the <LiveVideo /> component. In this section, we'll establish the foundational structure by introducing several div elements. This sets the groundwork for the subsequent Agora integration.
Agora Implementation
Now, let’s delve into the heart of our application — the Agora implementation. Our initial step involves the creation of variables to store our Agora App ID and channel name.
Take note of the following steps:
- Set your Agora App ID:
const appId = 'YOUR_AGORA_APP_ID';(Replace with your actual Agora App ID.) - Retrieve the channel name using
useParams().
const appId = ‘YOUR_AGORA_APP_ID’; // Replace with your Agora App ID
const { channelName } = useParams();Next, create state variables to manage the connection state, microphone state, and camera state:
const [activeConnection, setActiveConnection] = useState(true);
const [micOn, setMic] = useState(true);
const [cameraOn, setCamera] = useState(true);To initialize the user’s microphone and camera Agora provides two simple hooks useLocalMicrophoneTrack and useLocalCameraTrack.
const { localMicrophoneTrack } = useLocalMicrophoneTrack(micOn);
const { localCameraTrack } = useLocalCameraTrack(cameraOn);Next, join the channel with the useJoin() hook, passing in the appId, channelName, and connection state. To keep things simple we won’t be using tokens for this example, but you can add your temp token here.
useJoin({
 appid: appId,
 channel: channelName!,
 token: null,
 },
 activeConnection,
);Once the user has joined the channel we need to push the the local user’s mic and camera streams into the channel with the usePublish hook.
usePublish([localMicrophoneTrack, localCameraTrack]);Next, we can get the remote users with the useRemoteUsers() hook, and use that to get their audio tracks so we can loop through and play them back.
//remote users
const remoteUsers = useRemoteUsers();
const { audioTracks } = useRemoteAudioTracks(remoteUsers);

// play the remote user audio tracks
audioTracks.forEach((track) => track.play());Now that we have joined the channel and have access to our local mic/camera, as well as our remote users, we are ready to use Agora’s LocalUser and RemoteUser components to add the local and remote videos to our component.
  return (
    <>
      <div id='remoteVideoGrid'>
        {
          // Initialize each remote stream using RemoteUser component
          remoteUsers.map((user) => (
            <div key={user.uid} className="remote-video-container">
              <RemoteUser user={user} />
            </div>
          ))
        }
      </div>
      <div id='localVideo'>
        <LocalUser
          audioTrack={localMicrophoneTrack}
          videoTrack={localCameraTrack}
          cameraOn={cameraOn}
          micOn={micOn}
          playAudio={micOn}
          playVideo={cameraOn}
          className=''
        />
        <div id="controlsToolbar">
          {/* media-controls toolbar component */}
          <div id="mediaControls"> </div>
        </div>
    </>
  )
Last, we are ready to add the buttons to control muting the mic and camera along with a button to disconnect from the channel. Agora makes it easy to mute or unmute, simply by changing the state of the micOn and cameraOn values that are passed into the LocalUser component.
<div id="controlsToolbar">
  <div id="mediaControls">
    <button className="btn" onClick={() => setMic(a => !a)}>
      Mic
    </button>
    <button className="btn" onClick={() => setCamera(a => !a)}>
      Camera
    </button>
  </div>
  <button id="endConnection" className='' onClick={() => {
    setActiveConnection(false)
    navigate('/')
  }}> Disconnect </button>
</div>Putting this all together, the completed component looks like this:
Remember to add in your Agora AppID, which can be found in the Agora Developer Console.

Add Components to the App
With our components ready, it’s time to integrate them into our main application. Head over to App.tsx and add the two Routes:
return (
  <Routes>
    <Route path='/' element={ <ConnectForm connectToVideo={ handleConnect } /> } />
    <Route path='/via/:channelName' element={ } />
  </Routes>
)The <ConnectForm /> component is pretty straight-forward; drop in the element and pass in a callback function(connectToVideo). On the other hand, the <LiveVideo /> component can't be used independently. It must be wrapped in the <AgoraRTCProvider/> component.
First, we need to initialize the Agora SDK with the useRTCClient() hook. This sets the codec to be used (VP8 is recommended for best cross-browser compatibility) and the mode to use (each mode has its optimizations, RTC is the best for communication use cases).
const agoraClient = useRTCClient(
  AgoraRTC.createClient({
    codec: “vp8”,
    mode: “rtc”
  })
);Then we can add the <AgoraRTCProvider/> and <LiveVideo /> components; and pass our agoraClient variable as the client. The <AgoraRTCProvider/> component acts as a ContextProvider, so that all components that need access to the AgoraClient are using the same Context.
<Route path='/via/:channelName' element={
  <AgoraRTCProvider client={agoraClient}>
    <LiveVideo />
  </AgoraRTCProvider>
} />
Putting this all together, the App.tsx should look like this:
Once the Routes are implemented we have to do one final update to the Main.tsx, to add to the WebBrowser Router so that the Routes in our App.tsx can be properly handled by the React Router.
Styling
Let’s give our web application a polished look by introducing some simple CSS styles. Utilize the existing App.css file to enhance the overall appearance and user experience.
Test
We’ve reached a pivotal moment — testing our web application. Execute npm run dev to initiate the development environment and see your creation in action.
Once your app is up and running you’ll quickly realize that this only works locally, even if you add the Vite --host flag to the package.json (enables hosting the page on your local network). You’ll notice it won’t work on other devices because of a security feature that restricts mic and camera access to only sites that have a secure connection via SSL certificate.
There are two ways around this, set up an SSL certificate on your local machine (beyond the scope of this guide), or use a 3rd Party hosting service like Netlify or Vercel.
To do this you can either: upload your project to Github and connect the repo directly (recommended — provides dynamic updates as new changes are pushed to Git); or upload manually using the npm run build command to build the project as a static site and then upload the contents of the dist folder to your server.
Next Steps
And just like that, we’re done!
Congratulations on reaching this milestone! You’ve successfully integrated live video communication into a React project with the Agora React SDK. You’ve taken a giant leap forward in enriching your application with real-time video, but this is just the beginning.
This guide demonstrates the basic elements of implementing live video communication in a web application. It’s time to take your application to the next level and tailor the Agora implementation to fit your specific use case. Here are a few next steps to get you going:
- Customize the UI to match the branding /design of your web app. Modify styles, layout, and components to create a seamless and integrated user experience.
- Explore Agora’s advanced features such as screen sharing, interactive live streaming, and real-time messaging. Implement features that align with your application’s requirements and user expectations.
- Make your live video communication secure by implementing authentication mechanisms, end-to-end encryption, and other security measures. Agora provides guidelines on securing your application; refer to the documentation for details.
- Explore Agora’s scalability features. If your application anticipates a large number of users, understand how to scale your application to accommodate a growing user base while maintaining performance and reliability.
Other Resources
- Dive into the Agora Documentation to gain a deeper understanding of the features and capabilities offered by Agora SDK. Explore the API reference, sample codes, and best practices.
- Be part of the Agora developer community: Join the conversation on X(Twitter), or LinkedIn to share experiences, and stay updated on the latest developments. Need support? Reach out via StackOverflow for advice on your implementation.
- Continue your developer journey with more guides from Agora’s Medium publication.


