
Try Agora for Free
Sign up and start building! You don’t pay until you scale.

A framework called Astro is gaining popularity, and so I decided to learn web development to give it a shot. I built a couple of sites with it, and then I thought: “I wonder if you can build video call apps with Astro.”
The answer is yes! This article will teach you exactly how you can do it too.
Of course, we need Astro, since it is the title of this article.
The second part of the title is about video calls. For that, we will use Agora. Specifically, we will use the agora-react-uikit package. This package is a React wrapper for the Agora UI Kit, which is a set of UI components that make it easy to build a video call app.
Currently, there is no native Astro package. But given that we can use almost any popular web framework in an Astro application, the agora-react-uikit will work just fine.
We will also use Tailwind CSS to do some minor styling of the application.
Sign up for an Agora account and log in to the dashboard.
Navigate to the Project List tab under the Project Management tab, and create a project by clicking the blue Create button.
Retrieve the App ID, which we’ll use to authorize the app requests as we develop the application.
npm create astro@latest.npx astro add tailwind.npx astro add react.npm install agora-react-uikit.PUBLIC_AGORA_APP_ID = '<---Your App Id--->' to your .env file.├── src
│ ├── components
│ │ └── Call.tsx
│ ├── layouts
│ │ └── Layout.astro
│ └── pages
│ ├── index.astro
│ └── channel
│ └── [channelName].astro
├── public
│ └── favicon.png
├── package.json
├── astro.config.js
├── tsconfig.json
└── tailwing.config.cjsBy default Astro projects use a static site generator (SSG) that creates a static site which you cannot change. Astro provides a way to interface with different frameworks (React, Svelte, Vue, etc.) using a mechanism called islands. Forms need to be interactive, and we could definitely use an island to get this done. However it is possible to create a form with Astro that ships with zero JavaScript.
To do that, we need to enable the server-side renderer (SSR) by adding output: 'server' to the astro.config.mjs file. This means that our pages will get rendered on the server. This brings the benefits of being able to access server-side data and to run some functions before the page loads.
For the case of creating and submitting a form, we will load the page initially to show the form. Then whenever we submit the form, it will act much like an API endpoint.
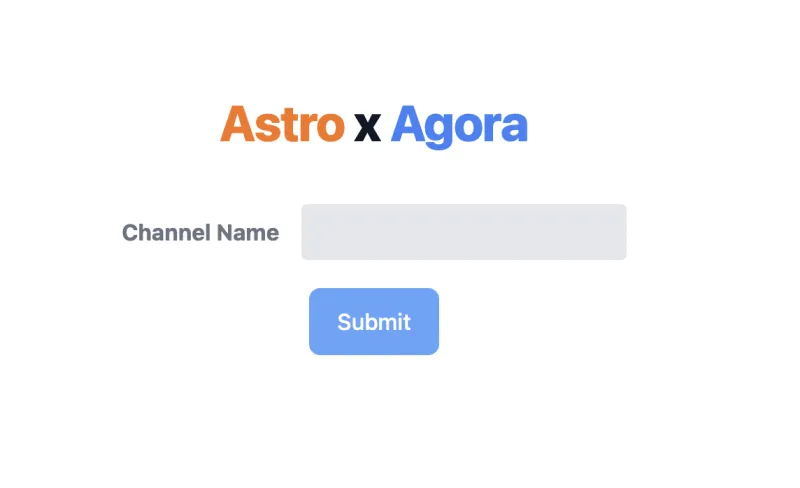
Normally, when you submit a form the data will be added to the URL, and you would have to parse it out. By changing the form’s data transfer method to POST, it will send the form data as part of the Request body. For this application the only data we need is the name of the channel the user is trying to join:
Our form should look like this:
Once the form is submitted with the data in the Request, the page will be reloaded and the data will be sent to the server. This data can be retrieved server-side and acted on before the page is displayed. In this case, we will check for errors. If we find any, we will render the same page again to show the user the error. If there is no error, we will redirect the user to the page associated with the video call channel they entered:
Other than the call component that will be provided by the agora-react-uikit, the call page will be simple. We want to print out the name of the channel we have joined.
The redirect we used in the previous section is dynamic, and it will be different depending on the channelName we entered. To handle this in Astro, we need to create a channel folder and in the folder define a file named [channelName].astro. The square brackets signify that the dynamic ${channelName} in our URL will be passed as a parameter in this component. We just need to retrieve it and display it in our UI.
For our Call component we pass the channelName and appId. But we also need to add a client:only="react" directive. This directive is needed for creating an Astro island. As mentioned, Astro is generating static HTML code for the site, and the video call that we create needs to be interactive.
So without this directive Astro will try to render static HTML from this React component. However by using client:only we skip the server-side rendering, and just let React do what React wants to do: render only on the client.
Since Astro supports many frameworks we also need to specify which framework it needs to us:
This last component is a pure React component. We have a state variable activeCall that we will use to toggle between the video call screen when true and a rejoin and back button when false.
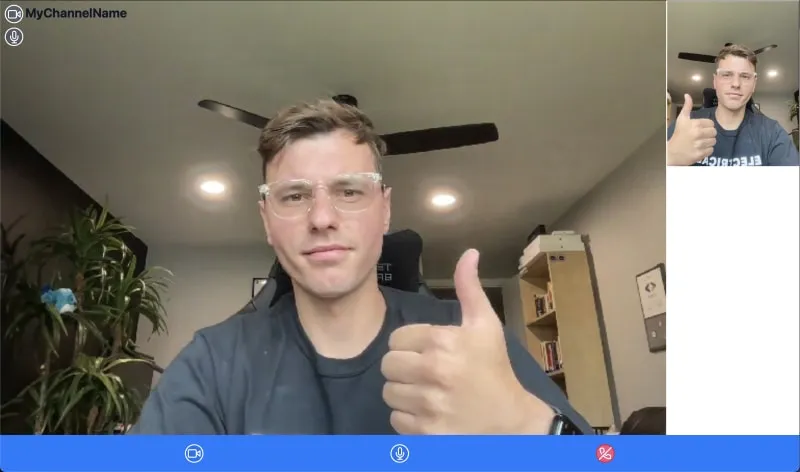
To use the Agora UI Kit, we need to pass rtcProps containing the App ID and the channel name, in addition to the callbacks. In this case, we define only the EndCall callback, which will change the activeCall to false:
Our final video call should look like this:
With that, we have a complete video call experience. Here’s how we built it:
The code for this project can be found here. And you can find out more about Agora video calling here.
Thank you for reading!


