
As if the Agora Video SDK for Unity wasn’t good enough with Android, iOS, and Windows support, it just got that much better by adding Mac support as well. Pair that with our ability to interoperate between our Native SDK and Unity SDK and you have a closed-loop solution ready to build on.
Follow along in this tutorial to see just how easy it is to add live real time video communication to your desktop or laptop-based Mac app. Let’s run through these steps together.
Prerequisites
- Unity Editor
- A developer account with Agora
Getting Started
To start, open Unity and create a blank new project named Agora Video Demo.

The next step is to navigate to the Unity Store (if you are in the scene view, click the Unity Store tab) and search for “Agora Video SDK”. Once the plugin page has loaded, go ahead and click Download. Once the plugin page has loaded, go ahead and click Download. Once the download is complete, click and Import the assets into your project.
Update code
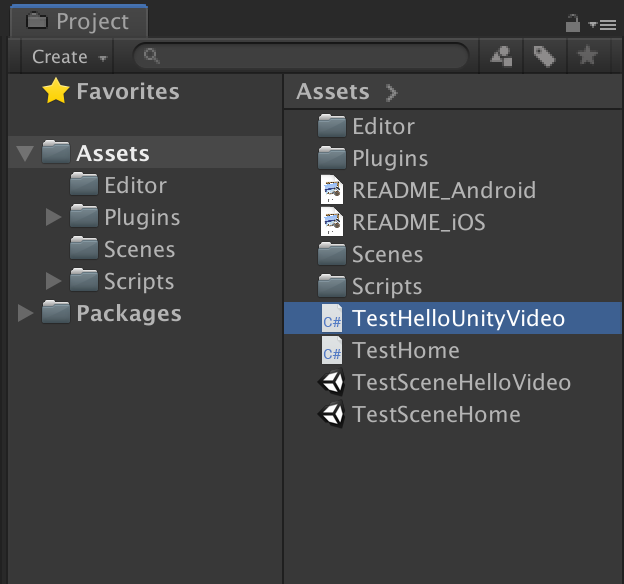
Great! Now that we have the plugin downloaded and imported to our project we need to make 1 quick update before we can build and run our app. Double click the TestHelloUnityVideo.cs file within the assets panel to edit it.
The file will open in Visual Studio (Unity’s default code editor). Let’s scroll down to line 16.

You will need to change the App ID to a new one you create on the Agora website. Don’t worry about charges during early development, they give you the first 10,000 minutes free every month
At this point, we need to log into our Agora developer account and create a new AppID or select an existing one. Then replace“YOUR_APPID ” on line 16 by copying and pasting over it. Make sure to save your changes.
We can scroll through the TestHelloUnityVideo.cs file to see all the various event callbacks the Agora Voice SDK for Unity offers.
Running the Sample Application
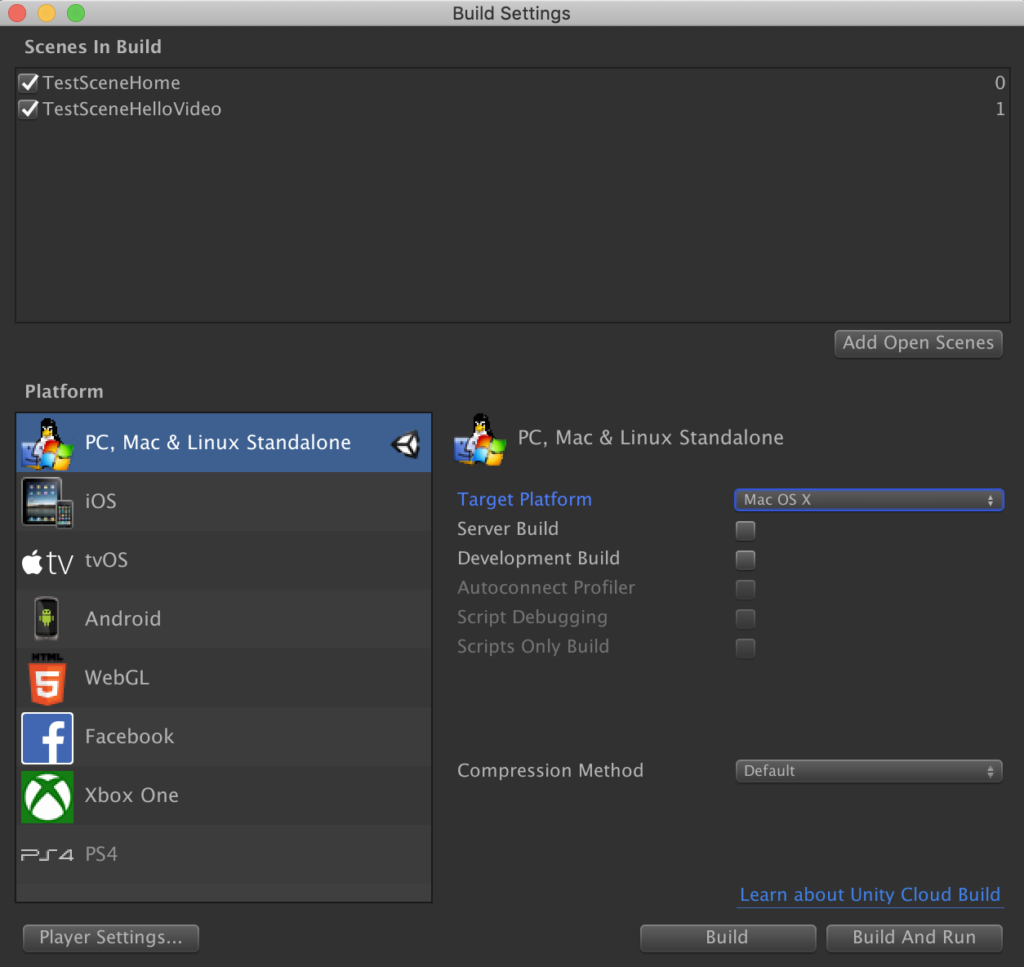
Open the Build Settings and drag the TestSceneHome.unity & TestSceneHelloVideo.unity scenes from the assets list into the “Scenes in Build” list. If it is not already selected, select PC, Mac & Linux from the Platform list and select Mac as the Target Platform then click Switch Platform.
Once Unity finishes its setup process, open the Player Settings. We will need to make sure our Mac app also has a unique package name, I chose com.agora.videodemo.
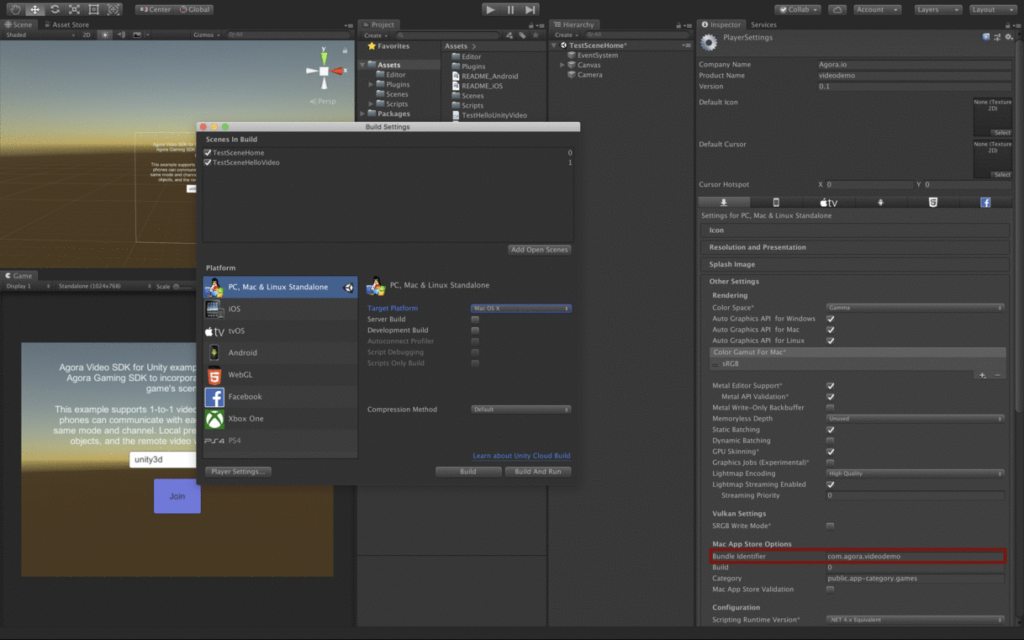
Then click Build And Run. Unity will prompt you to save your project, I create a folder for my builds named Builds and Create a folder inside of that named MacBuilds to hold my Mac builds, this will keep you from having issues in the future if you want to use the same project to run on Windows, iOS, or Android.
Other Resources
- The complete API documentation is available in the Document Center.
- For technical support, submit a ticket using the Agora Dashboard or reach out directly to our Developer Relations team devrel@agora.io


