
When hosting a Livestream it can be difficult to choose one single platform to stream your content. With Agora you don’t have to make a choice: you can host your Livestream on your own website and publish it to multiple third-party services like YouTube, Facebook Live, Twitch, and so on. This is made possible using the Agora Media Push service.
In this tutorial, we’ll discuss how the Web UIKit can be extended and how to add the Media Push feature to it. You can read about the Web UIKit release and deep-dive.
Prerequisites
- An Agora developer account (It’s free, sign up here!)
- Node.js LTS release
- A high-level understanding of React
Setup
You can get the code for the example on GitHub, or you can create your own React project. Open a terminal and execute:
npx create-react-app demo --template typescript
cd demo
Install the Agora React Native SDK and UIKit
npm i agora-react-uikitNote: At the time of writing, the current agora-react-uikit release is v0.0.5.
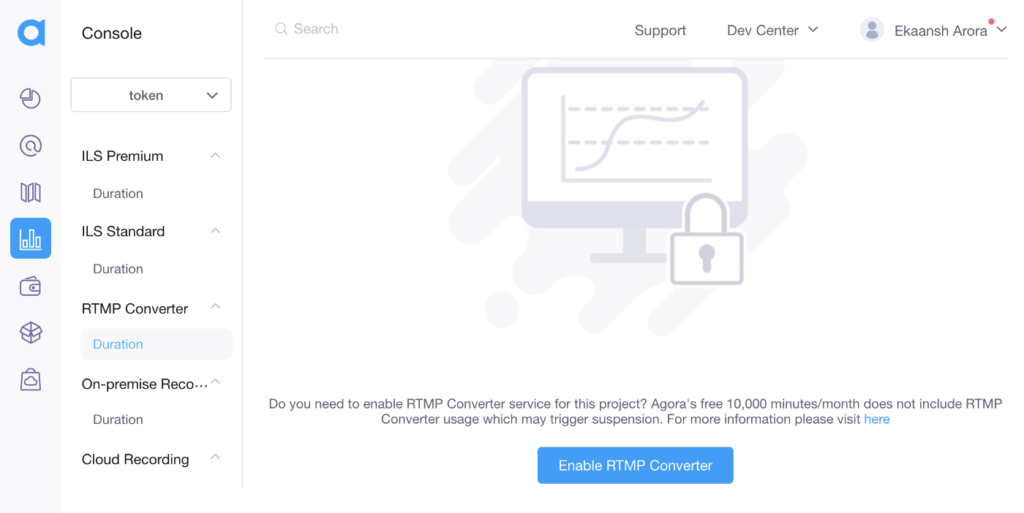
In the Agora console, you’ll have to enable RTMP Converter for your project. You can do this by going to the Usage tab and selecting your project from the drop-down menu:
That’s the setup. You can now execute npm start to start the webserver on localhost.
Building the Live Stream
The UIKit gives you access to a high-level component called <AgoraUIKit> that can be used to render a full video call or Livestream, the UIKit blogs go in-depth on how you can customize the UI and the features without writing much code. We’ll use the components that make up the <AgoraUIKit> component to add the Media Push feature.
We’ll clear out the App.tsx file and start fresh:
We’ll create a state variable called videocall. When it’s true we’ll render the Livestream, and when it’s false we’ll render a button to toggle the application state and start the stream. We also create two buttons alongside the Livestream to toggle the role and the layout.
To build the Livestream, we’ll wrap everything with the PropsContext component to pass in the user props to the UIKit. We’ll add the props to the rtcProps — Agora App ID, channel name, token, Livestream role, and the layout. We can customize the styling using the styleProps and get access to Livestream events using callbacks. When the user clicks the end call button, we’ll toggle to set the videocall state to false.
We’ll then render the VideoCallUI component. We’ll define it ourselves instead of using the one with the UIKit to add the start and stop stream button. If the user role is host, we’ll wrap it with the TracksConfigure component, which creates the microphone and camera tracks and passes them to the UI.
Note: Token authentication is recommended for all RTE apps running in production environments. For more information about token-based authentication in the Agora platform, see this guide: https://docs.agora.io/en/Video/token?platform=All%20Platforms.
Let’s define the VideoCallUI component:
We’ll compose the component by wrapping everything with the RtcConfigure component that handles the Livestream logic. We’ll add a new RTMP component, render the GridVideo or PinnedVideo based on the state, and render the LocalControls component inside.
Pushing the streams to a CDN
We’ll create a new component called RTMP, which will contain the code to publish/unpublish the stream from the CDN:
We’ll define the RTMP URL. For example, if you’re using Twitch, your URL would look like this: rtmp://xxx.contribute.live-video.net/app/{your_stream_key}, If you’re using YouTube Live, it would look something like this: rtmp://a.rtmp.youtube.com/live2/{your_stream_key}. We’ll also define the Livestream height and width: I’m using 1280x720:
We’ll store the streaming status and button status as the state. We can then access the SDK client object and the local user’s uid (localUid) from the RtcContext. We can access the users on the stream from the MaxUidContext and MinUidContext. These would return an array of all the hosts on the call.
We’ll create a useEffect hook that calls the transcode function each time a user joins or leaves that call. We can do this by adding the min and max arrays to the dependency array. We’ll call transcode only when the stream is being published.
In the transcode function we’re creating a config object to display the users in a grid. You can customize the height, width, x-y position, watermark, etc. You can also customize video properties like the bitrate and the framerate. Finally, we’ll call the setLiveTranscoding method on the client object with the config.
Note: In the case of a single host, Agora does not recommend transcoding. You can skip step 1 and call client.startLiveStreaming directly with enableTranscoding set as false.
We’ll create two functions – rtmpOn and rtmpOff – to call the startLiveStreaming and stopLiveStreaming methods on the client object and update the component state:
We’ll add event listeners for errors and warnings inside a useEffect hook with an empty dependency array. In the component return, we’ll display the button to start and stop streaming to the CDN with some styling. That’s it–we’re ready to use the new RTMP button alongside the UIKit to publish the live video streams to a CDN.
Conclusion
If there are features you think would be good to add to Agora Web UIKit that many users would benefit from, feel free to fork the repository and add a pull request. All contributions are appreciated!
Other Resources
If you have questions while using the Web UIKit, I invite you to join the Agora Developer Slack community, where you can ask them in the #web-help-me channel. Feel free to open issues for feature requests or to report bugs on the UIKit Repo or the project repo.


