
This blog is out of date. For the latest info on screen sharing with Unity, check out our documentation.
Intro
Having the ability to share what you are viewing in your Unity3D experience can be a major advantage. In this tutorial, I will make this functionality easy for you by providing a drag and drop solution to live broadcast your screen and a brief overview of the code behind it. This will allow you to simply drag & drop a Prefab into your Unity Scene and display anything that is seen on the user’s screen over the Agora global Real-Time Communication network.
Prerequisites
- Unity Editor
- 2 devices to test on (one to broadcast, one to view), pretty much any device with Windows, Mac, Android, or iOS operating systems will work
- A developer account with Agora
Getting Started
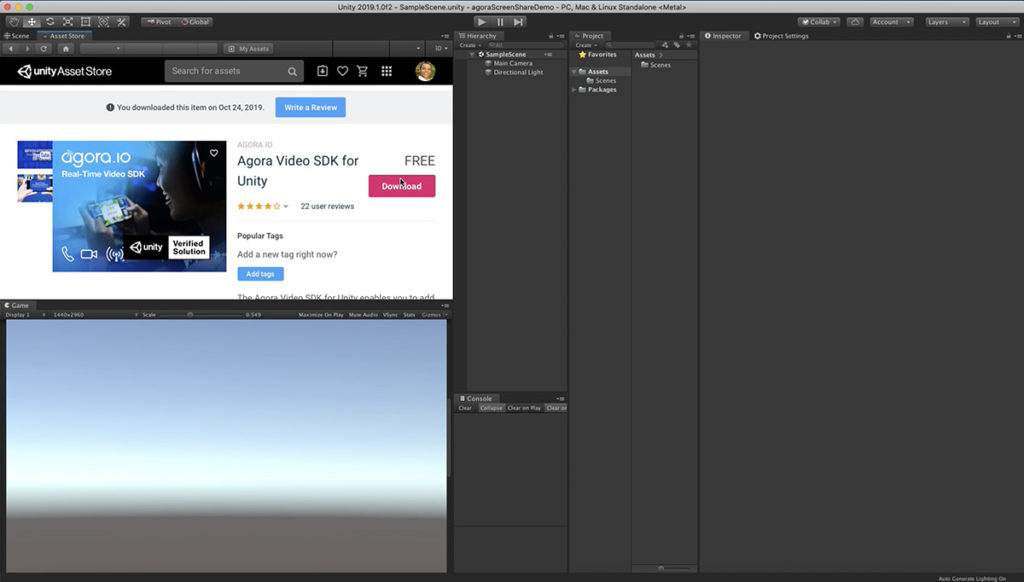
To start, we will need to integrate the Agora Video SDK for Unity3D into our project by searching for it in the Unity Asset store or click this link to be taken to it.
When you download and import the SDK into your project you will also receive README.md files for all of the different platforms the SDK supports. For your convenience, I will post the quick start tutorials for each platform below.
It is not imperative that you have built a sample app to use screen share but having created an agora sample app in the past, can help with understanding and debugging.
Create the Screen Share Prefab
If you are simply wanting to broadcast whatever is on the device display, you can do it quickly and easily by creating a Prefab that you can simply drag and drop into any scene in your Unity experience.
Create a Reference in the Scene
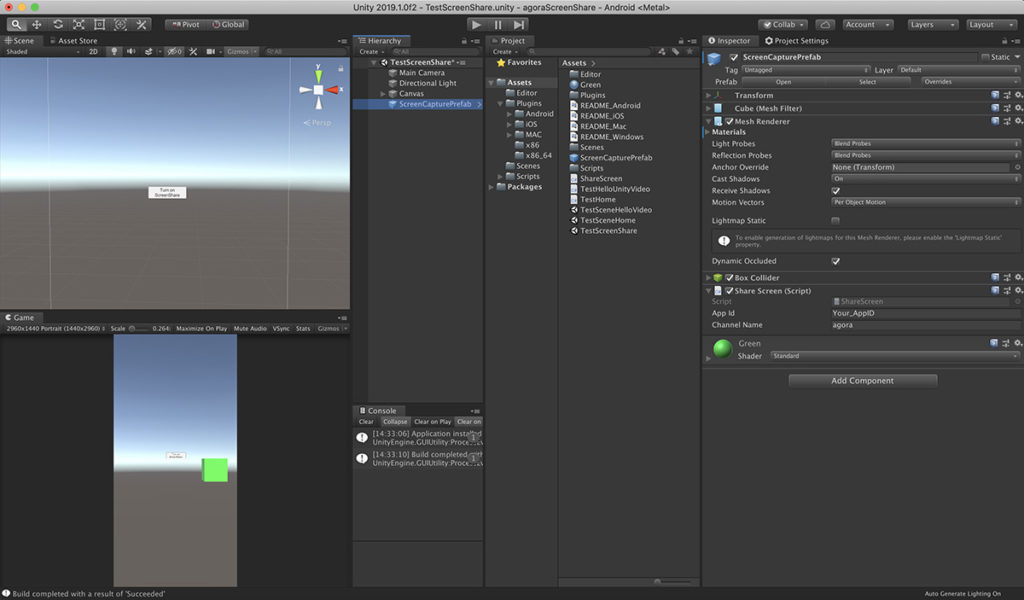
First, go into your Hierarchy, right-click and create a new 3dObject/Cube and name it ScreenCapturePrefab. We are using a cube for debugging purposes but you can also use an empty Gameobject if you don’t want a visual representation on screen. Then we can create a new Material, I will color and name mine Green, and apply it to the Cube by dragging and dropping it on the cube in the Scene.
Create the Script
Next, we will click the Add Component Button in the ScreenCapture Prefab and type ShareScreen and hit enter twice to create a script called ShareScreen.cs. We can then double click the script in the inspector to open it in your text editor, I use Visual Studio.
Let’s Review the Code
Now that we have the script open in our text editor, copy and paste or transcribe the code below over the existing default code in the ScreenShare.cs script.
As you can see below, the code is made up of a Start() function in which we create an engine with an appID that we will declare in the Editor. We then set up the configuration of the log filter, callback parameters, initialize the video and enable the video observer. Next, we join the channel which we will set in the Editor later and create a rectangle the width and height of the screen and a Texture2D the width and height of the rectangle we just created.
Next up we have an Update() function where we will call the screenShare() function. We will run this as a coroutine so that we can take advantage of Unity’s built-in WaitForEndOfFrame() function later.
Last we add the IEnumerator screenShare() where we will first call WaitForEndOfFrame() to make sure that everything on the screen is done rendering. We then have the texture read the pixels inside of the rectangle we created earlier and then apply them to the texture. We then get the raw texture data from what we just applied and set it to an array of bytes. We then check if there is an engine present. If the engine we created is present we are able to create an external video frame. We then set the configuration of the video frame and lastly push the external video frame.
Now that you have added the code to your ShareScreen.cs script, go ahead and hit save and go back into your Unity Editor.
Turn it into a Prefab
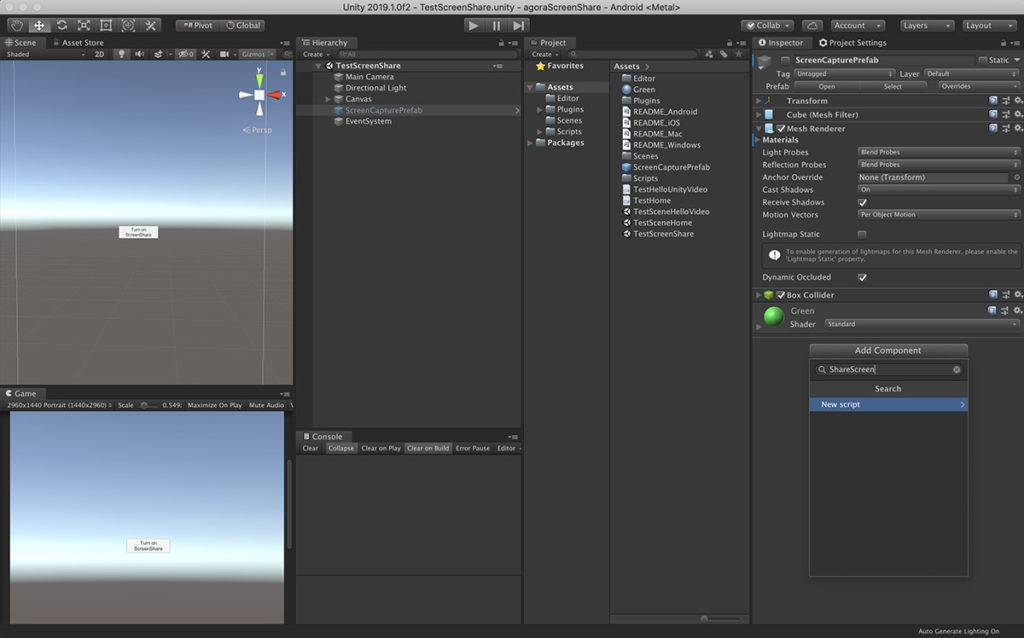
Now we can go ahead and turn the ScreenCapturePrefab into a Prefab by creating a Prefabs folder inside our Assets folder and dragging and dropping the ScreenCapturePrefab into the Prefab folder. Or simply dragging the ScreenCapturePrefab from the Hierarchy into the Assets folder, will automatically turn this into a Prefab in most modern Unity Editors.
Review the Prefab

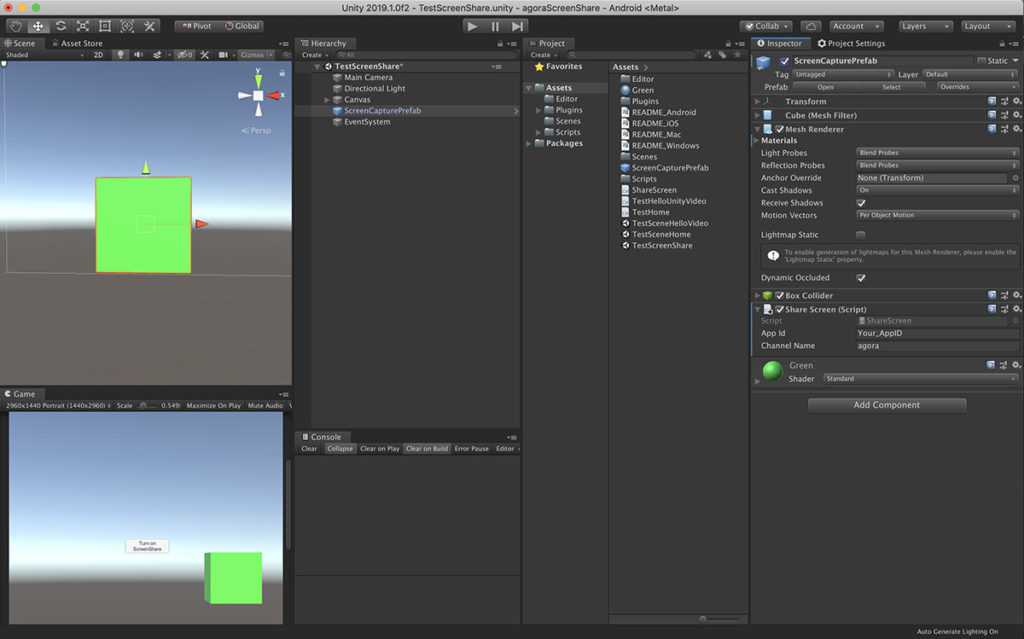
In your Unit Editor when you look at the ScreenSharePrefab you will now see new variables have opened up in your ShareScreen Script Component.
If you haven’t already, log in and get an AppID (it’s free). This will give you connectivity to the global Agora Real-time Communication network and allow you to broadcast across your living room or around the world, also your first 10,000 minutes are free every month.
Go ahead and add your App ID and hit save.
Now in whatever scene you drag and drop, instantiate, or activate your new ScreenShare Prefab in, the screen view will be broadcast to whatever channel you choose.
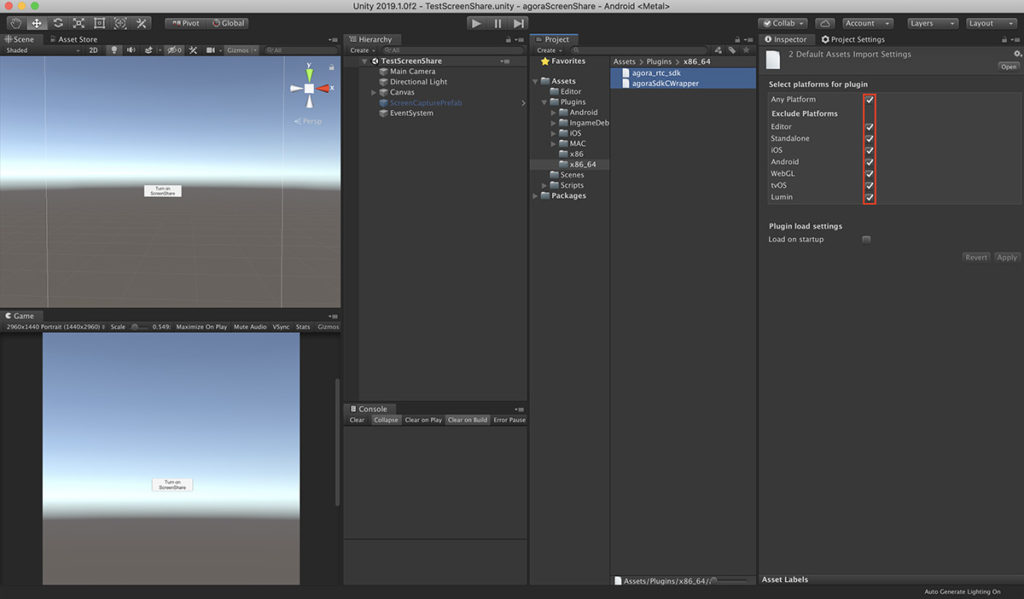
**Before running, to avoid colliding files, you will need to deactivate the files inside of either Assets/Plugins/x86 or Assets/Plugins/x86_64 folder by opening it and highlighting the files inside, unchecking them and then hitting the Apply button.
Let’s test
Now you can build this scene out to a device and it will stream automatically. I have set mine to Activate and Deactivate on a button press, but with it will also work just sitting in a scene.
To view our shared screen, we can build a sample agora scene on a different device with matching App IDs and Channel name. Here are the Quickstart Guides again in case you missed them.
Now when you go to the channel you selected for ScreenShare in the Editor (default channel: agora), you will see the screen view from the first device, Hurray!! Pat yourself on the back, you did it!
All Done!
Thank you for following along. If you have any questions please feel free to join our Slack channel.
Other Resources
- The complete API documentation is available in the Document Center.
- For technical support, submit a ticket using the Agora Dashboard or reach out directly to our Developer Relations team devrel@agora.io


