Products
Products
CONVERSATIONAL AI
Conversational AI Engine
Convo AI Device Kit
OpenAI Realtime API
CORE PRODUCTS
Video Calling
Voice Calling
Interactive Live Streaming
Interactive Whiteboard
Signaling
IoT
Broadcast Streaming
Chat
EXTENSIONS
3D Spatial Audio
Media Services
Agora Analytics
AI Noise Suppression
Real-Time Speech to Text
Real-Time Translation
Recording
Extensions Marketplace
Open Source
TEN
6,000
Open-source framework for real-time, multimodal conversational AI.
TOOLS
App Builder
The fastest and easiest way to integrate real-time engagement without code.
Flexible Classroom
Build full-featured virtual classrooms with low code.
Download SDKs
Build your vision with Agora's real-time SDKs.
Solutions
Solutions
Solutions
Conversational AI
Education
Future of Work
Gaming
iGaming
IoT
Live Audio Streaming
Live Shopping
Media and Entertainment
Metaverse
Social
Telehealth
Developers
Developers
RESOURCES
Documentation
API Reference
Download SDKs
Developer Blogs
Conversational AI Performance Lab
Extensions Marketplace
RESOURCES
Documentation
API Reference
Download SDKs
Developer Blog
Conversational AI Performance Lab
QUICKSTARTs
Voice SDK
Video SDK
App Builder
COMMUNITY
Stack Overflow
Agora Github
Community Github
Community Discord
Agora Ambassador Program
Company
Company
COMPANY
About Us
Events
Compliance & Privacy
Careers
AGORA PARTNERS
Partner Gallery
Become a Partner
RESOURCES
The Agora Advantage
Success Stories
Blog
Convo AI World Podcast
Support
Support
SUPPORT AND RESOURCES
Submit a Ticket
Agora Documentation
FAQ
COMMUNITY FORUMS
Agora Github
Stack Overflow
Community Discord Channel
CONNECT WITH US
Support Plans and Pricing
Agora SDKs for real time engagement
Ready to Select a Support Plan?
Contact Sales
Pricing
Talk to Us
Get Started
New Success Story: Lgenie powers AI-native assistive devices with Agora’s real-time conversational AI
Agora Blog
Thank you! Your submission has been received!
Oops! Something went wrong while submitting the form.
BROWSE CATEGORIES
All Categories
Business
Developer
Product
Agora Agents SDK: Build Voice Agents in Minutes
July 1, 2026
|
Hermes Frangoudis
Developer
Building Conversational AI Interfaces with Agora Agent UI Kit (Complete Beginner-to-Pro Guide)
June 12, 2026
|
Akshay Nandwana
Developer
Voice AI on Android: Beyond Speech-to-Text
May 29, 2026
|
Akshay Nandwana
Developer
Building a Voice AI Agent on Android
May 21, 2026
|
Akshay Nandwana
Developer
Agora Skills: Build Voice AI with Your Coding Agent
May 15, 2026
|
Hermes
Developer
Why Speech Recognition Isn't “Solved”
May 13, 2026
|
Hermes Frangoudis
Developer
GPT Realtime 2 Is Here — And Preambles Change How Voice Agents Feel
May 7, 2026
|
Mason Adams
Developer
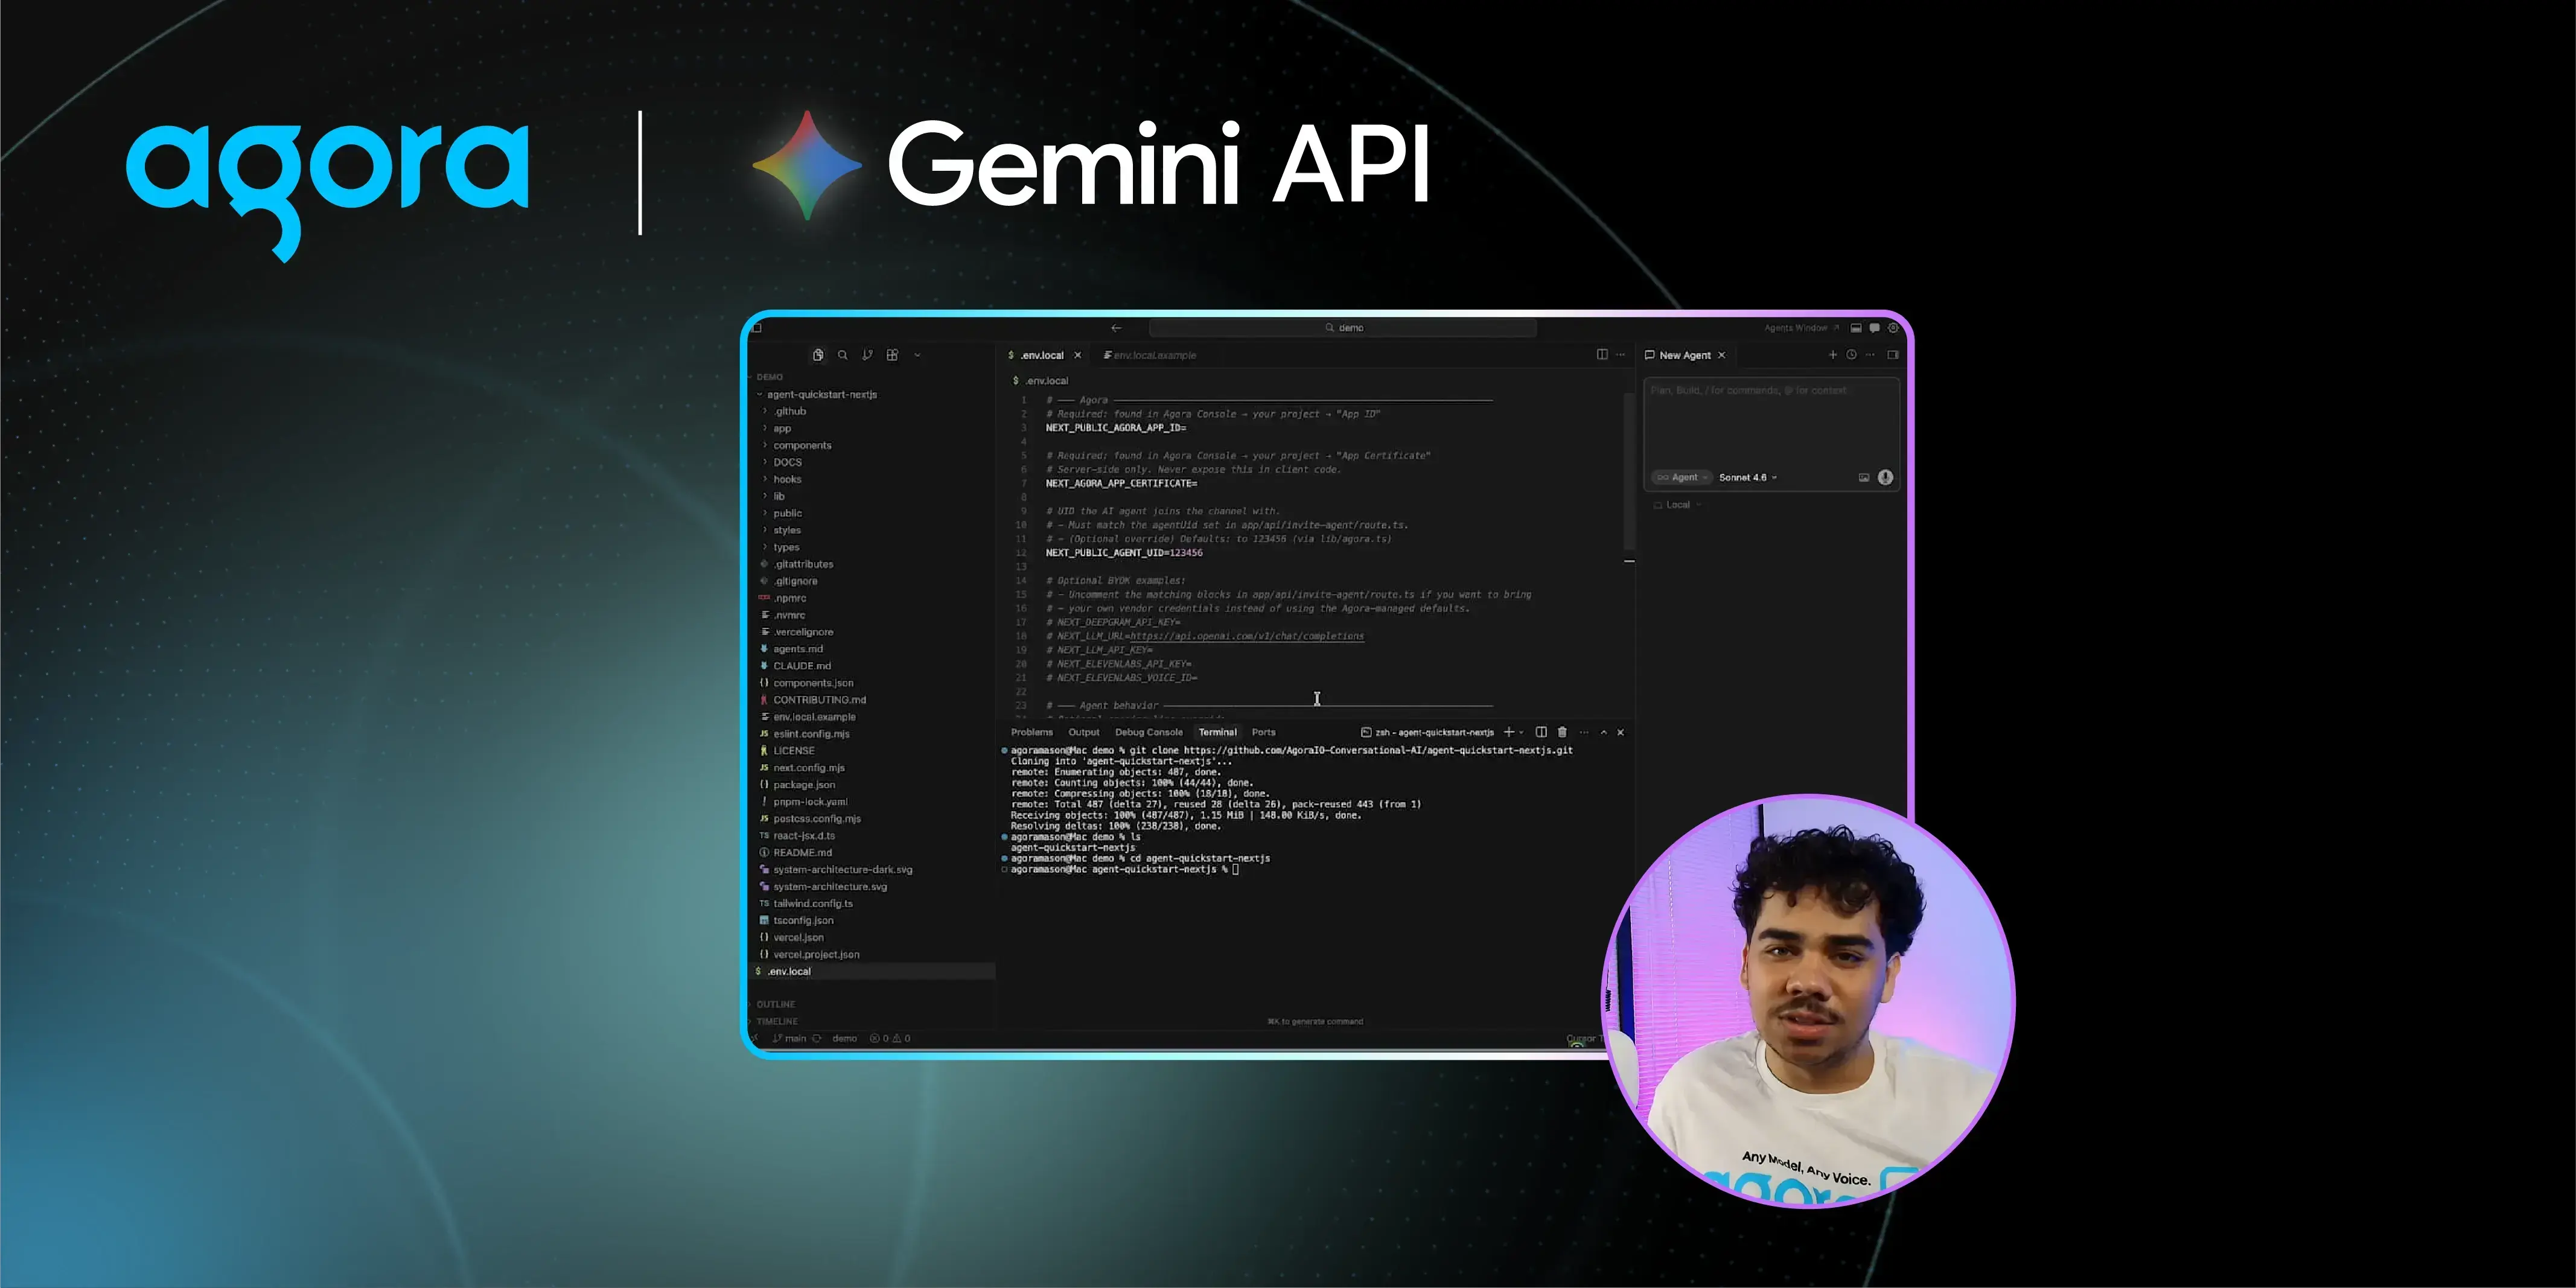
Build a Live AI Voice Agent with Gemini 3.1 Flash Preview and Agora
May 7, 2026
|
Mason Adams
Developer
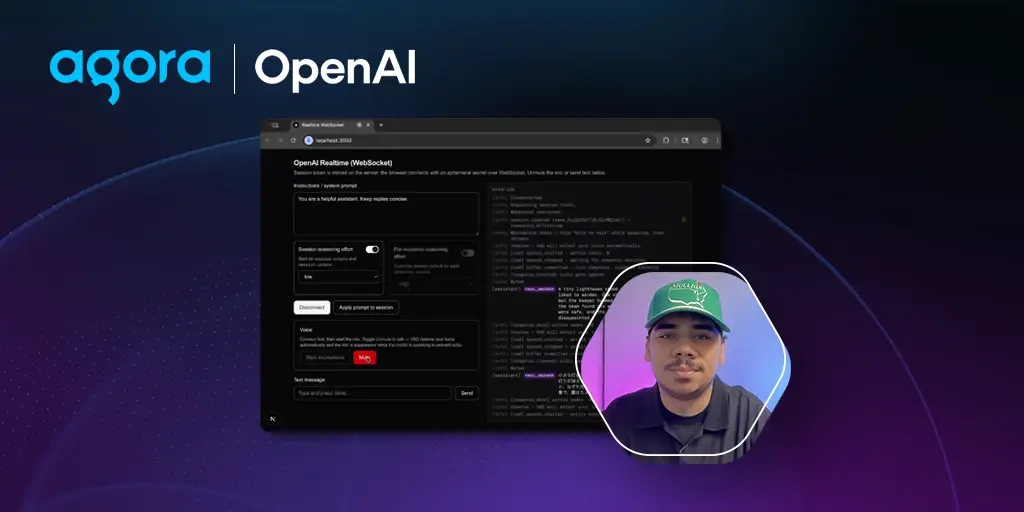
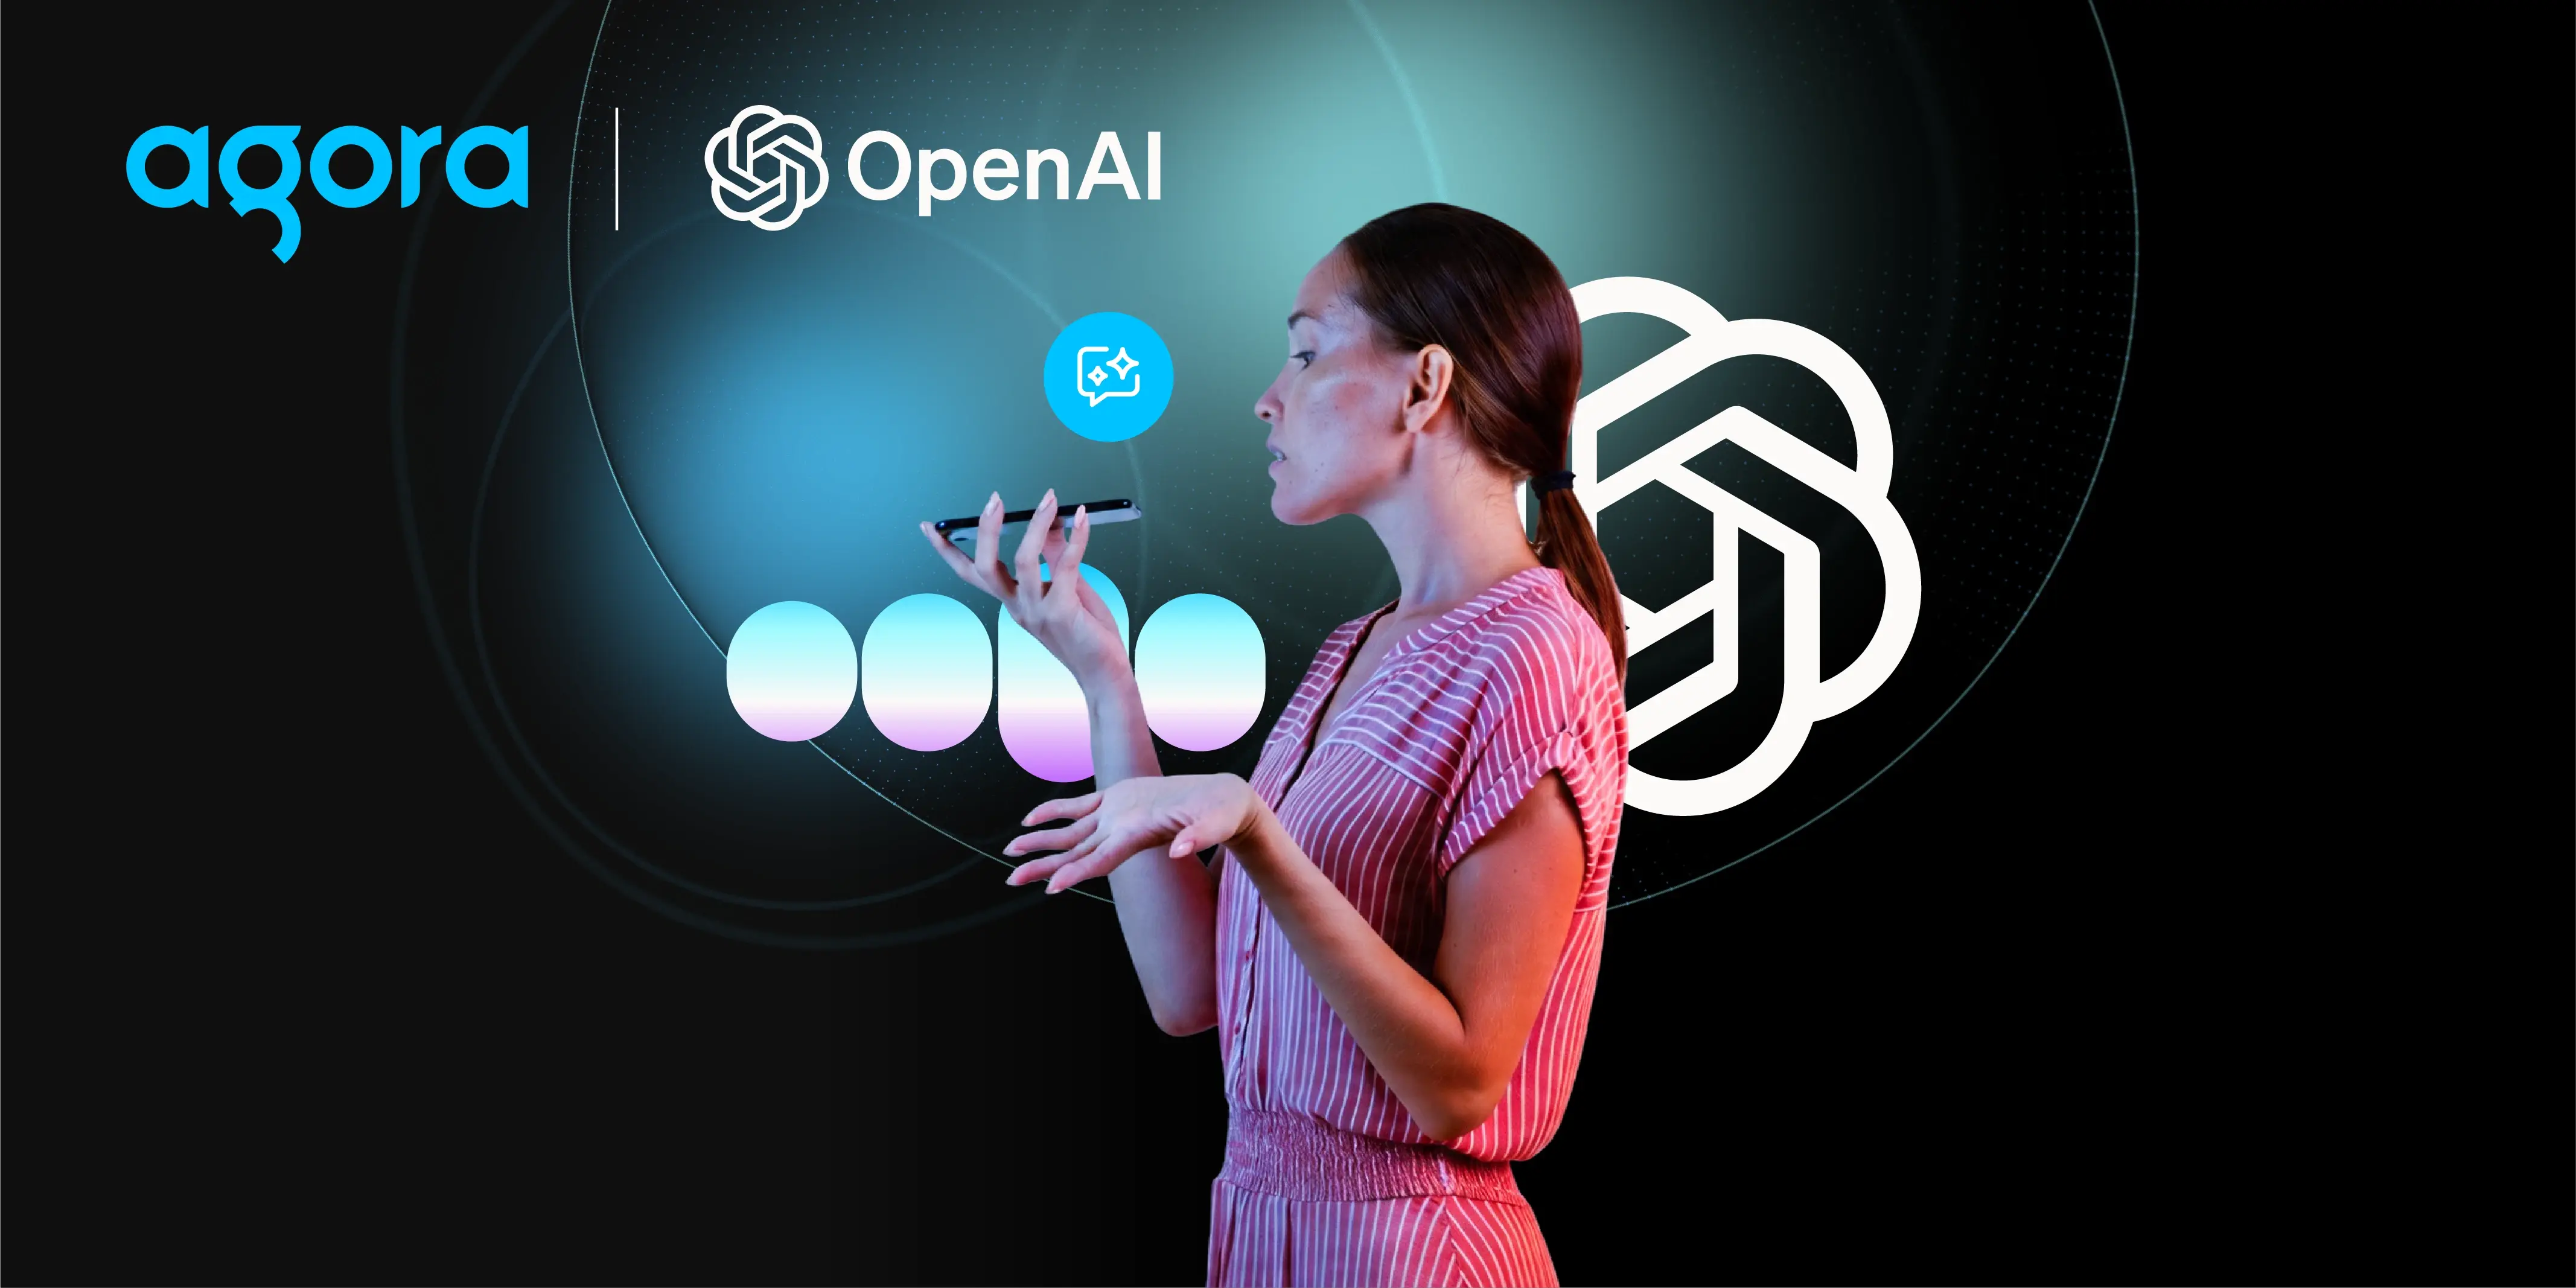
Building Real-Time Voice AI with Agora + OpenAI
April 30, 2026
|
Akshay Nandwana
Developer
From Dark Matter to Voice AI: Deepgram’s Journey to Speech Recognition
April 24, 2026
|
Hermes Frangoudis
Developer
From Idea to AI App: How Dify Simplifies AI Development
April 21, 2026
|
Derek Zheng
Developer
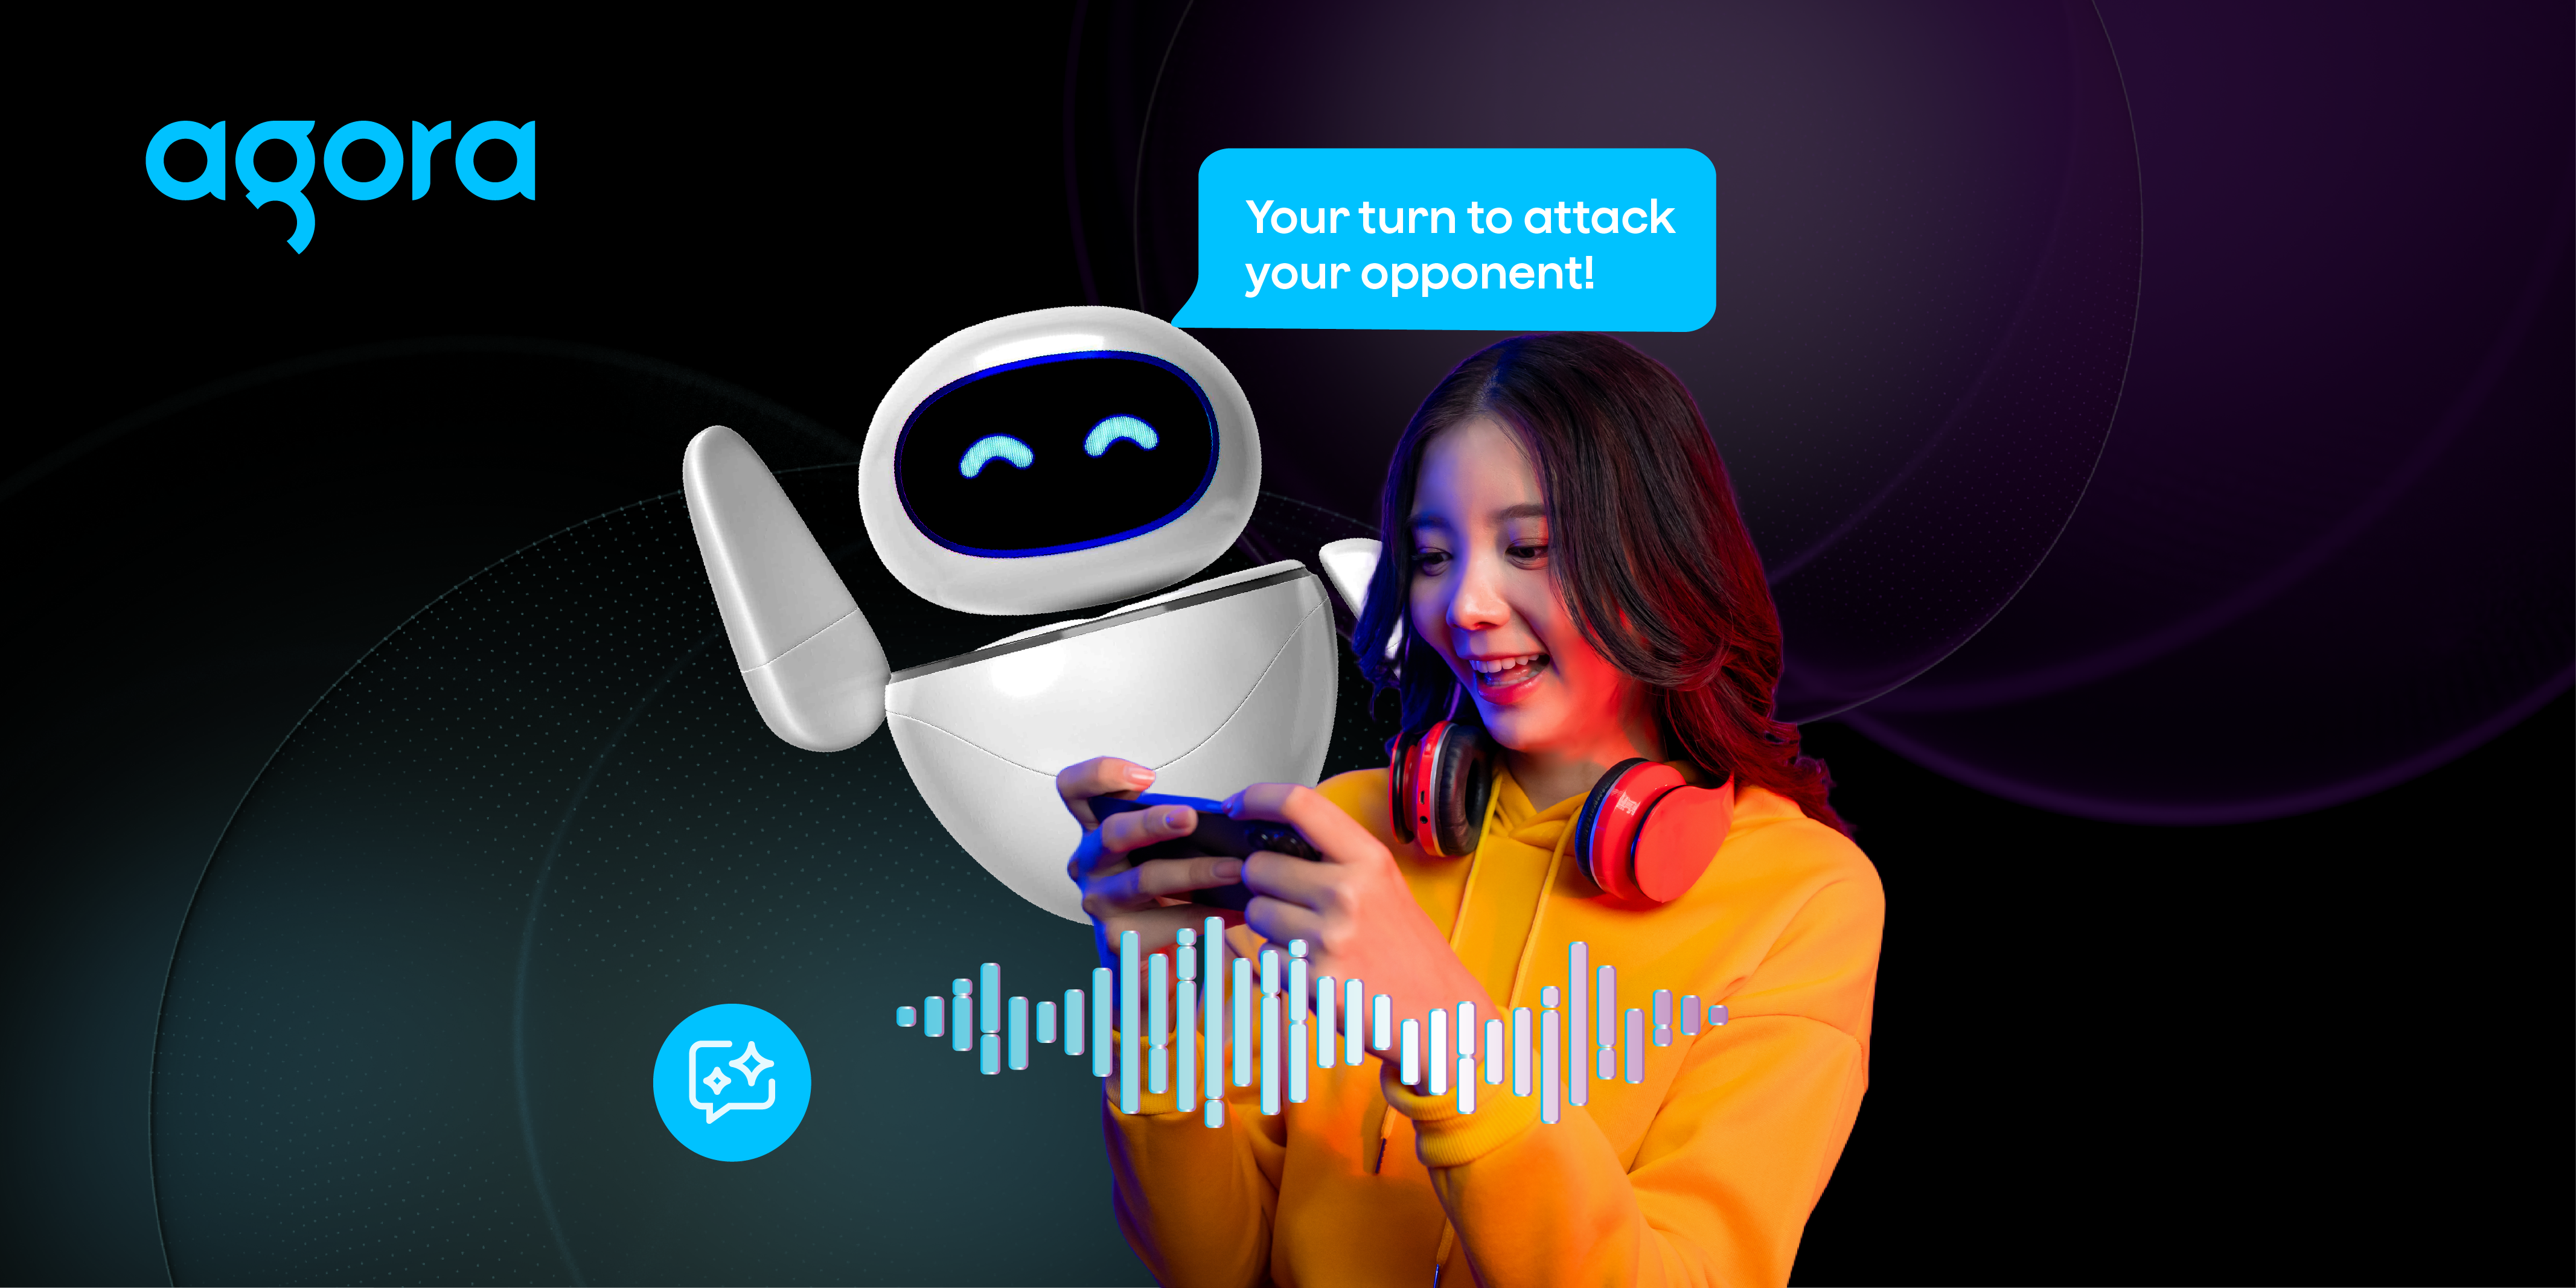
Building a Multiplayer Turn-Based Game with Agora RTC and AI Voice Agents
April 16, 2026
|
Aleksey Benditch
Developer
What 40 Years in AI Teaches Us About AI Governance and Safety
April 15, 2026
|
Derek Zhang
Developer
Multilingual Speech-to-Text: Achieving Native-Level Accuracy in 60+ Languages
April 7, 2026
|
Hermes Frangoudis
Developer
Separating Speech From Structure: A Guide to skip_patterns in Agora Conversational AI
March 27, 2026
|
Frank Molinaro
Developer
Speaking with Machines: The Art of Prompting Voice AI
March 19, 2026
|
TJ Palazzari
Developer
Next
Copyright © 2026 Agora | All rights reserved.


.webp)


.webp)


.webp)