
We're offering up to 2 free months to any customer switching from Twilio video to Agora. Schedule some time to chat with our team to get the full details.
Introduction
This guide will assist you in migrating your existing Twilio Video implementation to the Agora Video SDK. If you are initiating a new project, it is advised to refer to the Agora Video SDK documentation.
Quickstart
Quickstart demos for swift are provided. Check them out at Quickstart Demo. Additional demos can be found at More Demos.
Please follow the documentation here: Video Calling SDK quickstart - iOS.
Creating an Account with Agora
Sign up for an account and log in to the Agora Console.
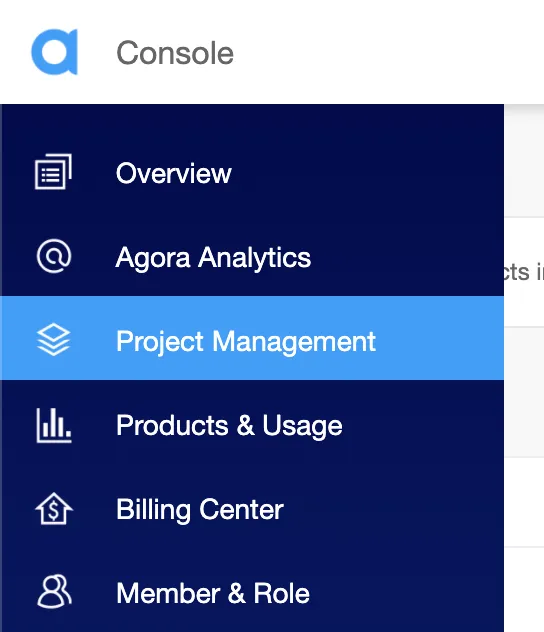
Navigate to the Project List tab under the Project Management tab, and create a project by clicking the blue Create button. (When prompted to use App ID + Certificate, select App ID only.) Retrieve the App ID, which will be used to authorize your requests while you’re developing the application.
Note: This guide does not implement token authentication, which is recommended for all RTE apps running in production environments. For more information about token-based authentication in the Agora platform, see this guide: https://docs.agora.io/en/video-calling/get-started/authentication-workflow?platform=ios
Step 1: Obtain Agora Video SDK Keys
To access Agora services and integrate them into your project, follow these steps to obtain the necessary information from the Agora Console:
- App ID:
- Log in to the Agora Console and navigate to your project.
- Find the “App ID,” a randomly generated string unique to your App. This ID is crucial for identifying your application within Agora.
- Temporary Token:
- When clients from your App join a channel, they need a Token for authentication.
- Generate a temporary Token from the Agora Console, which has a validity period of 24 hours. This Token is used to authenticate users joining your channel.
- Channel Name:
- Define a unique string as the “Channel Name” to identify and label your channel.
By completing these steps, you’ll have the necessary credentials to integrate Agora services into your application. Refer to the Agora Console for detailed guidance on accessing and managing these credentials.
Step 2: Install Agora Video SDK
Install
Using CocoaPods:
- Ensure that you have installed CocoaPods.
- In Terminal, navigate to the project path, and run the pod init command to create a Podfile in the project folder.
- Open Podfile, and add the Video SDK pod.
- Replace version with the version of Video SDK that you want to integrate.
- Return to Terminal, and run the pod install command to install Video SDK. Once you successfully install Video SDK:, it shows Pod installation complete! in Terminal, and you can see an xcworkspace file in the project folder.
- Open the generated xcworkspace file.
Download Video SDK
- Extract the files from the iOS download to a local folder.
- From the libs folder of the downloaded SDK package, copy the files or subfolders you need to the root of your project folder.
- In Xcode, link your target to the frameworks or libraries you have copied. Be sure to choose Embed & Sign from the pop-up menu in the Embed column.
Apple does not allow an app extension to contain any dynamic library. If you are integrating the Agora SDK to an app extension, choose Do Not Embed in the Embed column.
The Agora SDK uses libc++ (LLVM) by default. Contact support@agora.io if you want to use libstdc++ (GNU). Video SDK: provides FAT image libraries with multi-architecture support for both 32/64-bit audio emulators and 32/64-bit audio/video real devices.
Remove Twilio SDK from your project
Remove the listing for TwilioVideo in the Podfile and run pod install as necessary to remove the Twilio Video SDK.
Step 3: Start and Join Sessions
Twilio
Agora
Step 4: Create Local Audio and Video Tracks and Publish
Twilio
Agora
Step 5: Render Remote User Video
Twilio
Agora
Step 6: Audio Controller
Twilio
Agora
Step 7: Leave and End Sessions
Twilio
Agora
Additional Agora Video SDK Features
The Agora Video SDK provides a rich set of features that can enhance your video conferencing application. Here are some key features and information to consider:
- Platform Support:
Agora Video SDK supports a variety of platforms, including Android, iOS, Web, Linux, macOS, and Windows. Additionally, it offers wrappers for popular frameworks like Flutter and React Native. - Cloud Recording:
Agora Video SDK provides cloud recording capabilities, allowing you to capture and store your sessions for later playback or archival purposes. Consult the Agora Video SDK documentation for details on implementing this feature. - Screen Sharing:
Implement screen sharing in your application using Agora’s screen-sharing capabilities. This feature is valuable for collaborative work and presentations. - Plug-in Architecture:
Agora’s support for plug-ins enhances the extensibility of your video application. You can seamlessly integrate additional functionalities or customize features by leveraging Agora’s plug-in architecture. - Tree-Shaking:
Agora Video SDK supports tree-shaking, enabling you to optimize your application’s bundle size by eliminating unused code during the build process. This ensures that your application remains lightweight and performs efficiently. - Secure Communication:
Agora’s end-to-end encryption ensures that the communication between users in a session is highly secure. This feature enhances privacy and protects sensitive information exchanged during video conferences.
For comprehensive details on Agora Video SDK features and how to implement them, refer to the Agora Video SDK Documentation.
Explore the full potential of Agora Video SDK to create a robust and feature-rich video conferencing experience. If you have specific feature requirements, consult the documentation for guidance on implementation.


