

Building a video call app with Agora is child’s play, but what about adding cool features such as AR filters, voice changers, and monetization? That’s where Agora’s Extensions Marketplace comes in.
Launched just last month, the Extensions Marketplace already has several amazing extensions available, with more to come.
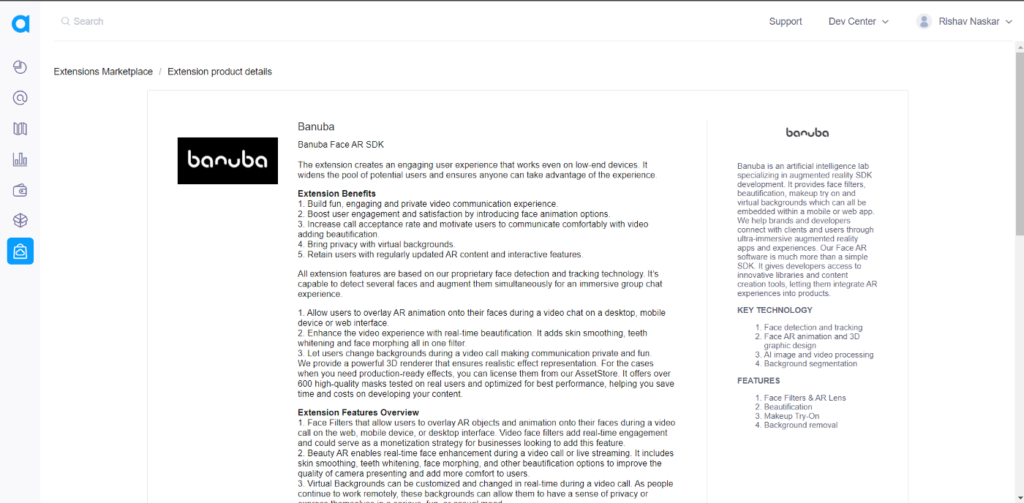
In this blog post, we’ll show you how to easily add Face AR animations to your Agora video calling or video live streaming application using the Banuba Face AR extension. Thanks to the Banuba extension, you get Face AR animations including:
- ElvisUnleashed
- EnglandEightPieceCap
- FashionHistory1940_male
- MorphingHatBow
- MorphTeenegers
- Nerd
- Popeye
- SnapBubblesGlasses
- Space
- StarGlow_low
- TitanicJack
Pre-requisites
- An Agora developer account — Sign up here
- Android Studio
- Basic understanding of Android development
Setup
Step 1: We need to enable the Banuba extension from our Agora Console. To do that, go to your Agora Console and navigate to the Extensions Marketplace section.

Step 2: Select Banuba from the list to download the necessary extension files and activate the same in the console.
Step 3: We need to download the necessary SDK files for integration. Head over to this link to get the following files:
- banuba-agora-plugin.aar
- banuba-effect-player.aar
Step 4: Head over to Android Studio and add Banuba to our application. For this, clone the Agora UIKit GitHub repo and switch to the extension-update branch. Now clone this repository locally and open the project in File Explorer.
You will find the agorauikit_android directory inside this cloned UIKit project. Copy and paste this directory into your application, at the parent level. This directory essentially contains the Agora Android UIKit and is crucial to making our extension work.
Step 5: Create a new libs folder inside the existing app folder and add the Banuba Face AR SDK files to this folder.
Step 6: Move to your project-level build.gradle and add the libs directory under repositories:
flatDir {
    dirs("libs")
}
Step 7: Now, let’s import the Banuba SDK files and the UIKit project in our app-level level build.gradle :
implementation("name": "banuba-agora-plugin", "ext": "aar")
implementation("name": "banuba-effect-player", "ext": "aar")
implementation project(':agorauikit_android')
Step 8: Head over to the project-level build.gradle.kts of the UIKit and do the following:
- Remove the plug-in
mavenif present, as it is deprecated. - Remove the version code and the version name if present.
Step 9: Download the assets directory and the res directory from this link. Then do the following:
- Place the downloaded assets folder in the
app/src/main/directory. - Replace the res directory in the
app/src/main/directory with the downloaded res directory.
And with that, we are done setting up our project!
Video Call UI
For our application, we won’t have to work on building the UI too much, because all that is already taken care of by the Agora Android UIKit.
Integrating Banuba Face AR
Here, we have used CallActivity.kt as the main activity used for launching our video call app.
To begin with, let’s first import the following files into CallActivity.kt
import com.banuba.agora.plugin.BanubaEffectsLoader
import com.banuba.agora.plugin.BanubaExtensionManager
import com.banuba.agora.plugin.BanubaResourceManager
import com.banuba.agora.plugin.model.ArEffect
Adding the extension
We will update the AgoraVideoViewer class with the list of extension names that you want. In this case, we will be using the Banuba Face AR.
Preparing the Extension
Here we will add the necessary objects and variables required to run the visual effects and animations created by the extension.
Add the following variables outside onCreatemethod of CallActivity.kt
Initializing the extension
To initialize the Banuba extension, we have to add two methods: — enableExtension and setExtensionProperty. Here, we will create two functions: initAgoraEngine and initBanuba. The first function is to call the enableExtension method, and the second is for the setExtensionProperty method.
The banubaClientToken used in the initBanuba method can be obtained directly from the Agora Console:
Modifying onCreate
We need to make certain changes in the onCreate method of the CallActivity.kt to start our extension during video calls:
- Call the prepareBanuba method before initializing the AgoraVideoViewer class.
- Load the Banuba library using this call:
System.loadLibrary(“banuba”). - Add a frame layout on which the video call will run and add it to the current ContentView.
val frameLayout: FrameLayout.LayoutParams = FrameLayout.LayoutParams(
    FrameLayout.LayoutParams.MATCH_PARENT,
    FrameLayout.LayoutParams.MATCH_PARENT,
).also { it.setMargins(0, 0, 0, 250) }

this.addContentView(agView, frameLayout)
The Entire Modified OnCreate Method
With that, we have only to add the “widgets” and a bunch of classes under a directory named “extclasses”.
Adding Widgets
Head over to this repository and download the ext and widget directories. Place these somewhere in your application so that they can be accessed as required from the CallActivity.kt file.
Conclusion
You now have a video call app complete with the new extension from Banuba! You should be able to run the extension successfully in your Android application with the help of the Agora Android UIKit!
There are other extensions I’d encourage you to try out, and they can all be found here.
The same settings can be applied to an application made directly with the Agora SDK, but you will need to make sure you’re using the 4.x version of the SDK. Details can be found here.
Testing
You can try out this app by following the GitHub link. After cloning the repo, just run the app on a physical Android device to test the application.
Other Resources
To learn more about the Agora Android SDK and other use cases, see the developer guide here.
You can also have a look at the complete documentation for the functions discussed above and many more here.
And I invite you to join the Agora Developer Slack community.


