
Building a video call app with Agora is child’s play, but what about adding cool features such as AR filters, voice changers, speech intelligence, and monetization? That’s where Agora’s Extensions Marketplace comes in.
Launched just last month, the Extensions Marketplace already has several amazing extensions available, with more to come.
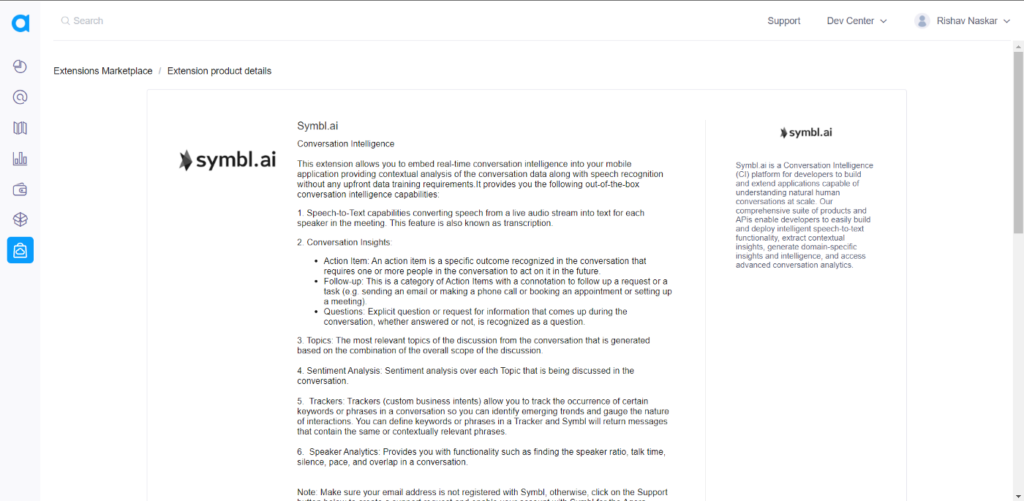
In this blog post, we’ll show you how to easily add conversation intelligence (speech-to-text) to your Agora voice calling or video live streaming application using the Symbl.ai Conversation Intelligence extension.
Pre-requisites
- An Agora developer account — Sign up here
- Android Studio
- Basic understanding of Android development
Setup
Step 1: We need to enable the Symbl.ai extension from our Agora console. To do that, go to your Agora Console and navigate to the Extensions Marketplace section.
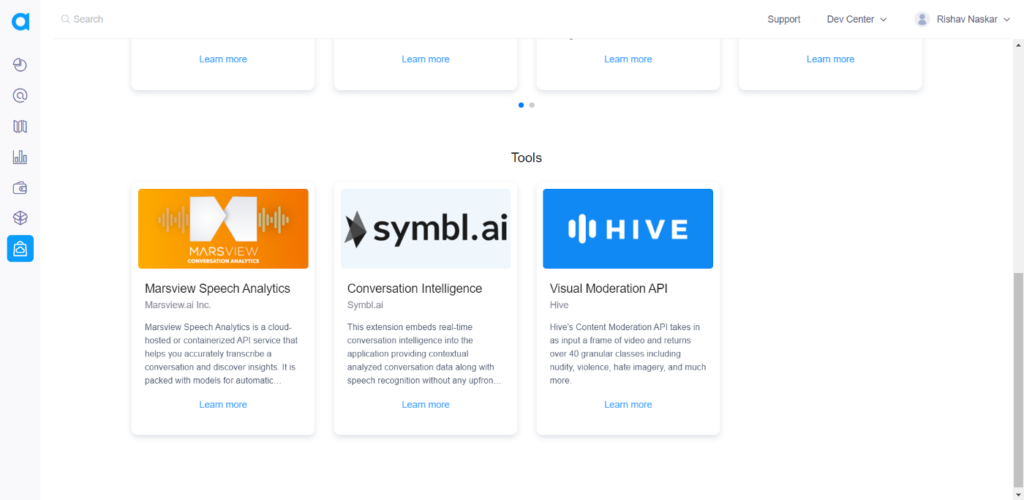
Step 2: Select Symbl.ai extension from the list and activate the same on the console. Copy or store the credentials (Symbl App ID and Symbl App Secret) of your project somewhere safe and private.
Step 3: Head over to Android Studio to add the extension to our application. For this, clone the Agora UIKit GitHub repo and switch to the extension-update branch. Now clone this repository locally and open the project in File Explorer.
You will find the agorauikit_android directory inside this cloned UIKit project. Copy and paste this directory into your application, at the parent level. This directory essentially contains the Agora Android UIKit and is crucial to making our extension work.
Step 4: Let’s import the Symbl.ai SDK files, the UIKit project, and a few other dependencies in our app-level level build.gradle:
  implementation 'ai.symbl:android.extension:1.0.0'implementation 'com.google.code.gson:gson:2.8.7'
  implementation 'ai.symbl:android.extension:1.0.0'
  implementation 'com.squareup.okhttp3:okhttp:3.10.0'
  implementation 'org.java-websocket:Java-WebSocket:1.5.1'
Step 5: Head over to the project-level build.gradle.kts of the UIKit and do the following:
- Remove the plug-in maven if present, as it is deprecated.
- Remove the version code and the version name if present.
And with that, we are done setting up our project!
Video Call UI
For our application, we won’t have to work on building the UI too much, because all that is already taken care of by the Agora Android UIKit.
Basic Video Call using Agora Android UIKit
Integrating Symbl.ai Conversation Intelligence SDK
Here, we have used CallActivity.kt as the main activity used for launching our video call app.
To begin with, let’s first import the following files into CallActivity.kt
import ai.symbl.android.extension.ExtensionManager
import ai.symbl.android.extension.SymblAIFilterManager
import ai.symbl.android.extension.model.request.*
import ai.symbl.android.extension.model.response.SymblResponse
import com.google.gson.Gson
import io.agora.agorauikit_android.AgoraConnectionData
import io.agora.agorauikit_android.AgoraVideoViewer
import io.agora.agorauikit_android.requestPermissions
import io.agora.rtc2.Constants
import io.agora.rtc2.IMediaExtensionObserver
import io.agora.rtc2.IRtcEngineEventHandler
import io.agora.rtc2.UserInfo
import io.agora.rtc2.video.VideoEncoderConfiguration
Adding the extension
We will update the AgoraVideoViewer class with the list of extension names that you want. In this case, we will be using the Symbl.ai Conversation Intelligence extension.
Sending the extension name via AgoraVideoViewer class
Preparing the Extension
Here we will add the necessary objects and variables required to run the APIs required by the extension.
First, we need to implement the IMediaExtensionObserver interface along with our CallActivity.kt. To do this, do the following:
class CallActivity : AppCompatActivity(), IMediaExtensionObserver {
Now, add the following private variables in CallActivity.kt
meetingIdrefers to the channel name used in the Agora Video CallsymblUserIdrefers to the local user ID used by Symbl.ai to identify the sameTAGrefers to the tag used while logging data/errorsinfoTextViewrefers to the TextView we created to log the result of the extension which will basically show the successful conversion of speech to text
private val meetingId = "test"
private val symblUserId = "user@mail.com"
private val TAG = "Agora_SymblTag java :"
private lateinit var infoTextView: TextView
Creating the response data class
Now that we have taken care of these, we need to understand how the extension works. The extension listens to speech using the smartphone’s microphone, converts it into text and returns the response to us in JSON format.
To log the response properly, let’s quickly define a data class to decode the JSON response which we will receive from the extension.
Response data class
Initializing the extension
To initialize the Symbl.ai extension, we have to add two methods — enableExtension and setExtensionProperty.
Here we will create a few methods to properly initialize the extension:
initAgoraEngineis where we we change video configuration, enable the Symbl.ai extension, set user roles, join a meeting and other RTCEngine related changes.
initAgoraEngine method
setSymblPluginConfigsis where we configure the extension and it’s APIs to work properly. It is here that we require our previously stored Symbl App ID and Symbl App Secret.
setSymblPluginConfigs method
enableEffectordisableEffectis where we enable or disable the extension using the setExtensionProperty method of the RTCEngine.
enableEffect/disableEffect methods
onEventis a method of theIMediaExtensionObserversuper class which we will call inCallActivity.kt. This method will be fired whenever there is a successful conversion of speech to text using the extension. So this method is extremely crucial for our extension to display/log the results properly.
onEvent method
Modifying onCreate
We need to one last change in the onCreate method of the CallActivity to start our extension during video calls:
- Add some bottom margin to the Frame Layout on which the Video Call will run and add it to the current ContentView.
val frameLayout: FrameLayout.LayoutParams = FrameLayout.LayoutParams(
    FrameLayout.LayoutParams.MATCH_PARENT,
    FrameLayout.LayoutParams.MATCH_PARENT,
).also { it.setMargins(0, 0, 0, 250) }

this.addContentView(agView, frameLayout)
Layout for the Video Call
I have shown the layout I used for this video call along with displaying the results of the extension here. However, you may choose to use a layout of your own and display the results of the conversion as you like.
Conclusion
You now have a video call app complete with the new extension from Symbl.ai! You should be able to run the extension successfully in your Android application with the help of the Agora Android UIKit.
There are other extensions I’d encourage you to try out, and they can all be found here.
The same settings can be applied to an application made directly with the Agora SDK, but you will need to make sure you’re using the 4.x version of the SDK. Details can be found here.
Testing
You can try out this app by following the GitHub link. After cloning the repo, just run the app on a physical Android device to test the application.
Other Resources
To learn more about the Agora Android SDK and other use cases, see the developer guide here.
You can also have a look at the complete documentation for the functions discussed above and many more here.
And I invite you to join the Agora Developer Slack community.


