
The Extensions Marketplace was launched last month, and already several extensions are available, with more to come.
In this post, we’ll show you how to easily remove and filter out any kind of noise in your video calling application. Thanks to the Bose PinPoint extension, in just three easy steps can filter out any kind of noise:
- Add the extension
- Pass the extension credentials
- Enable the extension
So, let’s get started.
Prerequisites
- An Agora developer account — Sign up here
- Android Studio
- Basic understanding of Android development
Setup
Step 1: Before we begin building our application, we need to enable the Bose extension from our Agora console. To do that, go to your Agora console and navigate to the “Extension Marketplace” section.
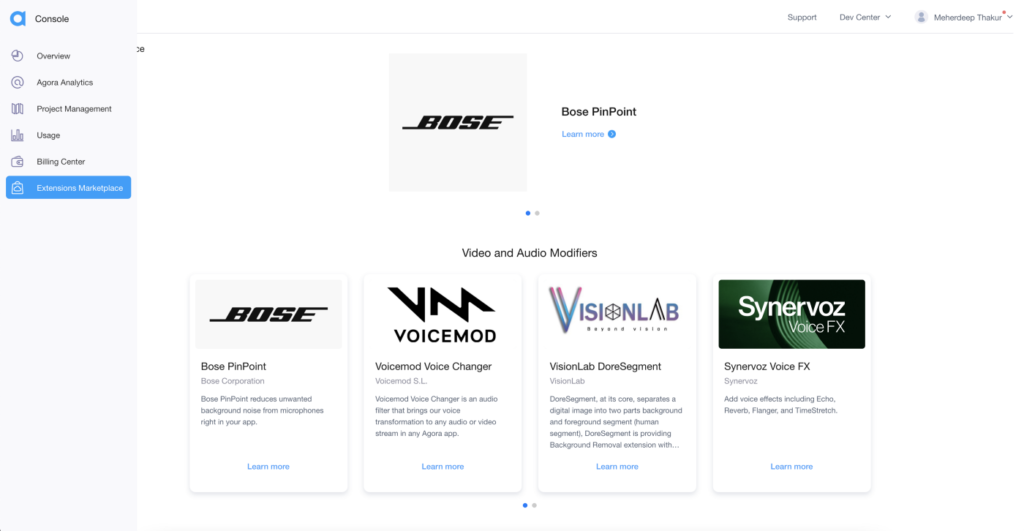
Step 2: Select Bose PinPoint from the list to download the Bose PinPoint SDK and to activate the extension from your Agora console.
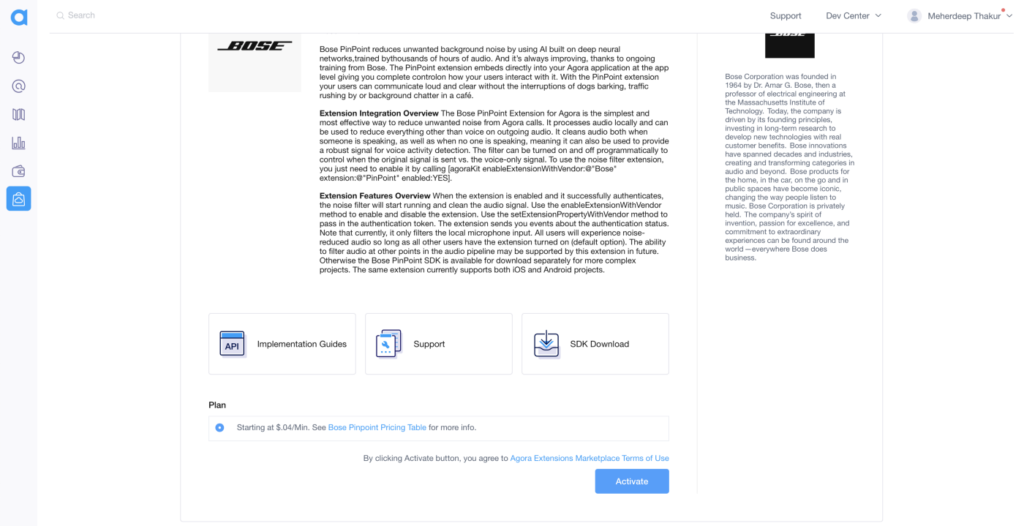
Step 3: Once you have activated the Bose extension, you can go to this link to download the SDK.
Step 4: With this, we can go to our Android Studio and add the Bose PinPoint SDK. Clone the Agora UIKit GitHub repo and switch to the extension-update branch.
Step 5: Create a new libs folder inside the existing app folder, and add the Bose PinPoint SDK.
Step 6: After this, move to your project-level build.gradle, and add the libs directory:
flatDir {
    dirs("libs")
}
Step 7: Now we can import the SDK inside our app-level build.gradle
implementation(mapOf("name" to "agora-pinpoint-release", "ext" to "aar"))We are all set now.
Video Call UI
For our application, we won’t have to work on building the UI too much, because all that is already taken care of by the Agora Android UIKit.
Integrating Bose PinPoint
To begin, import the ExtensionManager from the Bose SDK:
import io.agora.extension.ExtensionManagerAdding the extension
Next, update the AgoraVideoViewer class with the list of extension names that you want. In this case, we will be using the Bose SDK.
Bose PinPoint Credentials
Select a project that you want to use, and use the slider to enable the Bose PinPoint extension for that particular project.

Once that’s done, you can grab your Bose PinPoint API Key and API Secret by clicking “view” below the credentials tab.

Setting the extension property
After generating the Bose PinPoint credentials, we can set the Agora extension property. To do this, we will be calling the setExtensionProperty() method right after our join method given in the UIKit:
agView?.agkit?.setExtensionProperty(
ExtensionManager.EXTENSION_VENDOR_NAME, ExtensionManager.EXTENSION_AUDIO_FILTER_NAME,
"API-KEY",
"API-SECRET")
Enabling the extension
And finally, we have to enable the extension. To do this, we are going to add an extra button that enables/disables the extension when clicked.
Here, we have created a basic button with some styling that enables and disables the Bose PinPoint extension when clicked.
Conclusion
You now have a video call app complete with the new extension from Bose!
There are other extensions I’d encourage you to try out, and they can all be found here.
The same settings can be applied to an application made directly with the Agora SDK, but you will need to make sure you’re using the 4.x version of the SDK. Details can be found here.
Testing
You can try out this app by following the GitHub link. After cloning the repo, just run the app on a physical Android device to test out the application.
Other Resources
To learn more about the Agora Android SDK and other use cases, see the developer guide here.
You can also have a look at the complete documentation for the functions discussed above and many more here.
And I invite you to join the Agora Developer Slack community.Creating a video call app with Agora is super straightforward, but what about adding cool features to enhance the overall user experience or adding monetization options? That’s where Agora’s Extensions Marketplace comes in.


