
Live audio streaming is increasingly popular across a wide range of uses, from live podcasts and interviews to playing live music performances online. The possibilities are endless once you have a few users engaging with an audience in real time. This is especially true when the sound quality is exceptional and the system is supported by an intuitive design.
There’s a simple way to accomplish React Native audio streaming using the Agora React Native SDK. In this tutorial, we’ll walk through the development of a live audio broadcasting app that can have multiple broadcasters and host thousands of users by utilizing the Agora Audio SDK. We’ll go over the structure, setup, and execution of the React Native audio streaming app before diving into the code. The open-source code is available here.
We’ll be using Agora RTC SDK for React Native for the example. I’m using v3.2.2 at the time of writing.
Creating an Agora Account
Sign up at Agora Console and log in to the dashboard.
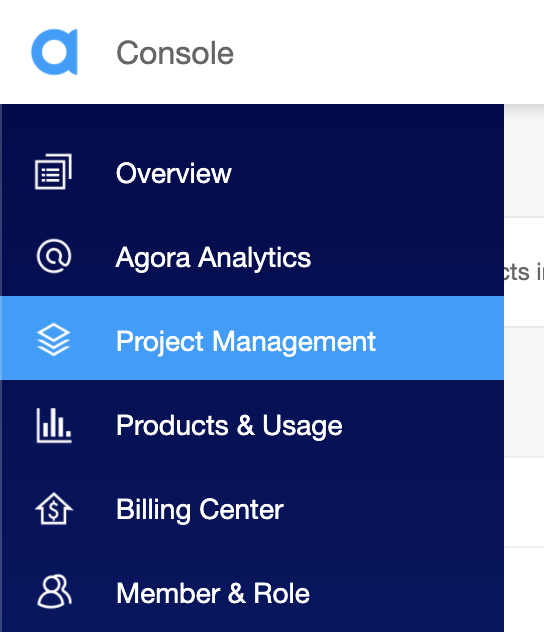
Selecting the Project Management tab in the Agora Console
Navigate to the Project List tab under the Project Management tab and create a project by clicking the blue Create button.
Create a project and retrieve the App ID. (When prompted to use App ID + Certificate, select only App ID.) The App ID will be used to authorize your requests while you’re developing the application, without generating tokens.
Note: This guide does not implement token authentication, which is recommended for all RTE apps running in production environments. For more information about token-based authentication within the Agora platform, please refer to this guide.
Structure of Our Example
This is the structure of the React Native audio application:
.
├── android
├── components
│ └── Permission.ts
│ └── Style.ts
├── ios
├── App.tsx
├── index.js
.
Running the App
You’ll need to have the latest version of Node.js and NPM installed:
- Make sure you’ve set up an Agora account, set up a project, and generated an App ID (as discussed above).
- Download and extract the ZIP file from the master branch.
- Run
npm installto install the app dependencies in the unzipped directory. - Navigate to
./App.tsxand enter the App ID as`appId:YourAppIdHere`in the state declaration. - If you’re building for iOS, open a terminal and execute
cd ios && pod install. - Connect your device, and run
npx react-native run-android/npx react-native run-iosto start the app. Give it a few minutes to build the app and install it on your device. - Once you see the home screen on your mobile device (or iOS/Android emulator), click the start call button on the device.
That’s it. You should have an audio broadcast going between the two devices.
The app uses channel-x as the channel name.
Before we dive into the code, let’s get a few basics out of the way:
- For our app example in React Native, stream audio and call capabilities will be handled by the Agora RTC (Real-time Communication) SDK.
- We can have multiple users broadcasting to a channel. All users as an audience on that channel can listen to the broadcasters.
- The audience can dynamically switch to a broadcaster role.
- The Agora RTC SDK uses unique IDs (UIDs) for each user. To associate these UIDs with a username, we’ll use the Agora RTM (Real-Time Messaging) SDK to signal the username to others on the call. We’ll discuss how it’s done below.
Let’s take a look at how the React Native audio app code works:
App.tsx
App.tsx will be the entry point into the app. We’ll have all our source code in this file. When you open the app, there will be a username field with three buttons: to join the call, to end the call, and to toggle our user role between broadcaster and audience.
We start by writing the used import statements. Next, we define an interface for our application state containing the following:
appId: our Agora App IDtoken: token generated to join the channelisHost: boolean value to switch between audience and broadcasterchannelName: name for the channeljoinSucceed: boolean value to store if we’ve connected successfullyrtcUid: local user’s UID on joining the RTC channelmyUsername: local user’s name to log in to RTMusernames: a dictionary associating RTC UIDs of remote users to their usernames that we’ll get using RTMpeerIds: an array to store the UIDs of other users in the channel
We define a class-based component: the _rtcEngine variable will store the instance of the RtcEngine class, and the _rtmEngine variable will store the instance of the RtmEngine class, which we can use to access the SDK functions.
In the constructor, we set our state variables and request permission for recording audio on Android. (We use a helper function from permission.ts, as described below.) When the component is mounted, we call the initRTC and initRTM functions, which initialize the RTC and RTM engines using the App ID. When the component unmounts, we destroy our engine instances.
RTC Initialization
We use the App ID to create our engine instance. Next, we set channelProfile to Live Broadcasting and clientRole based on our isHost state variable value.
The RTC triggers a userJoined event for each user present when we join the channel and for each new user who joins later. The userOffline event is triggered when a user leaves the channel. We use event listeners to sync our peerIds array.
Note: Audience members don’t trigger the userJoined/userOffline event.
RTM Initialization
We’re using RTM to send our username to other usernames on the call. And this is how we associate our usernames with our RTC UID:
- When a user joins a channel, we send a message to all channel members as
UID:Username. - On receiving a channel message, all users add the key-value pair to their username dictionary.
- When a new user joins, all members on the channel send a peer message to that user in the same schema,
UID:Username. - On receiving peer messages, we do the same (add the key-value pair to the dictionary) and update our usernames.
Following this method, we attach event listeners with functions to populate and update usernames on channelMessageReceived (broadcast message to channel), messageReceived (peer message), and channelMemberJoined events. We also create a client on the engine using the same App ID.
Functions for Our Buttons
The toggleRole function updates the state and calls the setClientRole function with the correct argument based on the state.
The startCall function checks if a username is entered. It then joins the RTC channel. It also logs in to RTM, joins the channel, and sends the channel message for the username, as we discussed before.
The endCall function leaves the RTC channel, sends a message that is used to remove the username from our remote users dictionary, and then leaves and logs out of RTM.
Rendering Our UI
We define the render function for displaying buttons to start and end the call as well as to toggle roles. We define a function _renderUsers that renders a list of all broadcasters and audience members.
Permission.ts
We’re exporting a helper function to request microphone permissions from the Android OS.
Style.ts
The Style.ts file contains the styling for the components.
Conclusion
That’s how easy it is to build a React Native music streaming app. You can refer to the Agora React Native API Reference for methods that can help you quickly add features like muting the mic, setting audio profiles, audio mixing, and much more.


