

Updated March 20, 2020: This post and project has been updated to use the latest version of the Agora React Native SDK (v3.1.6).
Adding video streaming functionality in a React Native application from scratch can be a huge task. Maintaining low latency, load balancing, and managing user event states during a React Native video call can be tedious. On top of that, we have to maintain cross-platform compatibility.
There’s an easy way to do this. In this tutorial, you’ll learn how to code a React Native video chat app by using the Agora Video SDK. We’ll go over the structure, setup, and execution of the app before diving into the logistics. You can get a cross-platform video call app going in a few simple steps within a matter of minutes.
We’ll be using Agora RTC SDK for React Native for the example. I’m using v3.1.6 at the time of writing.
Creating an Account with Agora
Sign up at https://console.agora.io and log in to the dashboard.
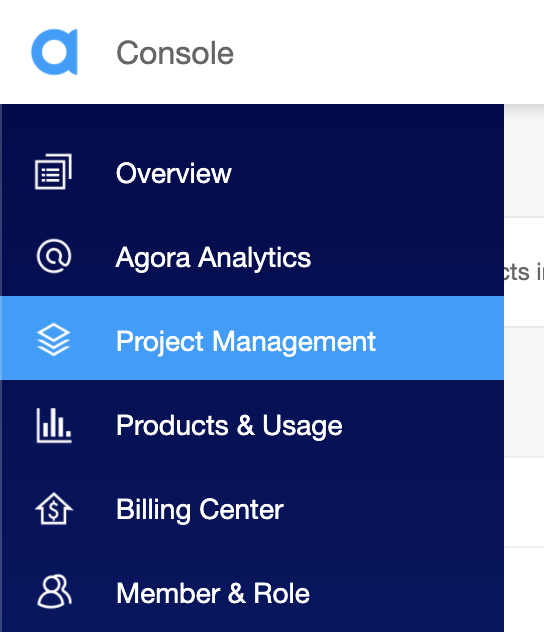
Navigate to the Project List tab under the Project Management tab, and create a project by clicking the blue Create button. (When prompted to use App ID + Certificate, select only App ID.) Retrieve the App ID. It will be used to authorize your requests while you’re developing the React Native video chat application.
Note: This guide does not implement token authentication, which is recommended for all RTE applications running in production environments. For more information about token-based authentication in the Agora platform, please refer to this guide: https://docs.agora.io/en/Video/token?platform=All%20Platforms.
Structure of Our Example
This is the structure of the React video chat application that we’re building:
.
├── android
├── components
│ └── Permission.ts
│ └── Style.ts
├── ios
├── App.tsx
.
Let’s run the app
You’ll need to have the LTS version of Node.js and NPM installed:
- Make sure you have an Agora account, set up a project, and generate an App ID.
- Download and extract the ZIP file from the master branch.
- Run
npm installto install the app dependencies in the unzipped directory. - Navigate to
./App.tsxand enter the App ID that we generated asappId: "<YourAppId>". - If you’re building for iOS, open a terminal and execute
cd ios && pod install. - Connect your device, and run
npx react-native run-android/npx react-native run-iosto start the app. Give it a few minutes to build and launch the app. - Once you see the home screen on your mobile (or emulator), click the start call button on the device. (The iOS simulator does not support the camera, so use a physical device instead.)
That’s it. Your custom React Native calling app is ready. You should have a video call going between the two devices. The app uses channel-x as the channel name.
How the React Native Video Chat App Works
App.tsx
This file contains all the core logic of our video call:
We start by writing the import statements. Next, we define an interface for our application state containing:
- appId: our Agora App ID
- token: token generated to join the channel
- channelName: name for the channel (users on the same channel can message each other)
- joinSucceed: boolean to store if we’ve connected successfully
- peerIds: an array to store the UIDs of other users in the channel
We define a class-based component: the _engine variable will store the instance of the RtcEngine class imported from the Agora SDK. This instance provides the main methods that can be invoked by our chat SDK React Native application for using the SDK’s features.
In the constructor, we set our state variables and request permissions for the camera and the microphone on Android. (We use a helper function from permission.ts, as described below.) When the component is mounted, we call the init function, which initializes the RTC engine using the App ID. It also enables the video by calling the enableVideo method on our engine instance. (The SDK can work in audio-only mode if this is omitted.)
The init function also adds event listeners for various events in the video call. For example, the UserJoined event gives us the UID of a user when they join the channel. We store this UID in our state to use to render their videos later.
Note: If there are users connected to the channel before we have joined, a UserJoined event is fired for each new user connection to the channel.
Next, we have functions to start and end calls. The joinChannel method takes in the token, the channel name, optional information, and an optional UID. (If you set UID as 0, the system automatically assigns a UID for the local user.)
We define the render function for displaying buttons to start and end the call and to display our local video feed as well as the remote users’ video feeds. We define the _renderVideos functions that render our video feeds. They are rendered in a scrollview using the peerIds array.
To display the local user’s video feed, we use the <RtcLocalView.SurfaceView> component, which takes in channelId and renderMode as props. Users connecting to the same channelId can communicate with each other. The renderMode prop is used to either fit the video in a view or zoom to fill the view.
To display the remote user’s video feed, we use the <RtcLocalView.SurfaceView> component from the SDK, which takes in the UID of the remote user along with channelId and renderMode.
Permission.ts
We’re exporting a function to request camera and microphone permissions from the Android OS.
Style.ts
The Style.ts file contains the styling data for the components.
That’s how easy it is to build a video calling app. You can refer to the Agora React Native API Reference to see methods that can help you quickly add more features like muting the camera and microphone, setting video profiles, and audio mixing.


