
Creating a video call app with Agora is super straightforward, but what about adding versatility to your app, enhancing the user experience, or increasing monetization? That’s where Agora’s Extensions Marketplace comes in.
The Extensions Marketplace launched last year with a range of extensions from noise cancellation and voice changers to advanced conversation intelligence tools. What’s more, you can integrate an extension and access unified billing directly from your console.
In this post, we’ll show you how to easily add voice FX to your Agora video calling or live video streaming application using the Synervoz Voice FX extension. Thanks to the Synervoz extension, you get voice FX filters including:
- Echo
- Pitch shift
- Reverb
- Flanger
So, let’s get started!
Pre-requisites
- An Agora developer account — Sign up here
- Android Studio
- Basic understanding of Android development
Setup
Step 1: Before we begin building our application, we need to enable the Synervoz extension from our Agora console. To do that, go to your Agora console and navigate to the “Extension Marketplace” section.
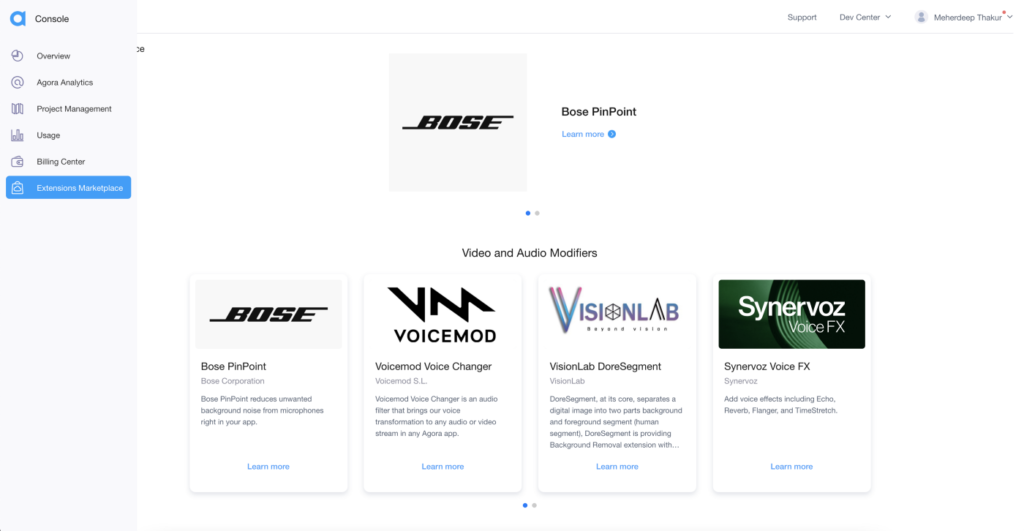
Step 2: Locate the Synervoz Voice FX extension to begin the download of the SDK, then click the activate button.
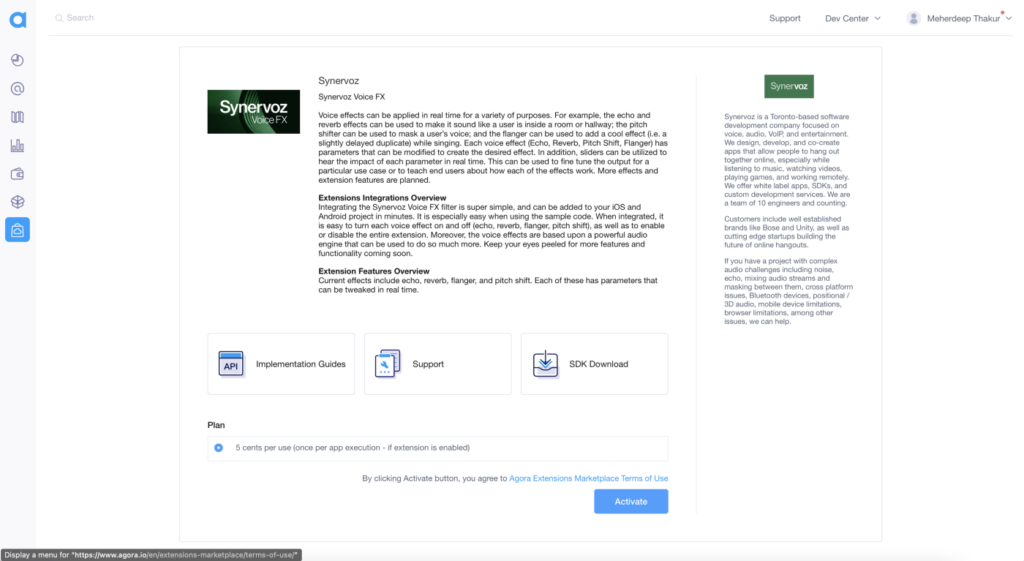
Step 3: Once you have activated the Synervoz Voice FX extension, you can go to this link to download the SDK.
Step 4: With this, we can go to our Android Studio and add the Synervoz Voice FX SDK to our application. Clone the Agora UIKit GitHub repo and switch to the extension-update branch.
Step 5: Create a new libs folder inside the existing app folder, and add the Synervoz Voice FX SDK.
Step 6: After this, move to your project-level build.gradle and add the libs directory:
flatDir {
    dirs("libs")
}
Step 7: Now we can import the SDK inside our app-level build.gradle:
implementation(mapOf("name" to "VoiceFiltersAgoraExtension", "ext" to "aar"))We are all set now.
Video Call UI
For our application, we’ll be using the Agora Android UIKit which takes care of building most of the UI.
Integrating Synervoz Voice FX
To begin, we will import the following files to our MainActivity.kt:
import com.synervoz.voicefilters.AgoraExtensionPropertyInterface
import com.synervoz.voicefilters.SynervozVoiceFilter
import com.synervoz.voicefilters.SynervozVoiceFilterExtensionManager
import com.synervoz.voicefilters.VoiceEffectsComponentConfiguration
Adding the extension
Next, update the AgoraVideoViewer class with the list of extension names that you want. In this case, we will be using the Synervoz Voice FX.
Initializing the extension
To initialize the Synervoz extension, we have to add two methods: enableExtension and setExtensionProperty. Here, we are going to create a function called initSynervozVoiceFilter(), which is responsible for calling both methods.
We will be calling this initSynervozVoiceFilter() function before the join method given in the Android UIKit:
initSynervozVoiceFilter().apply {
    agView!!.join("test", role=Constants.CLIENT_ROLE_BROADCASTER)
}
Adding Voice FX
Once the Synervoz extension is initialized, we can call the voice FX methods provided by the Synervoz SDK. Here, we will be creating buttons using the AgoraButton class given in the Android UIKit. Adding these filters is a very simple task: you just have to call one single method for each voice FX. Also, you get an option to change or tune a voice FX as you wish:
- Echo Filter
- Reverb Filter
- Pitch Shift Filter
- Flanger Filter
Here, we have created a basic button for all the filters with some minimal styling that enables and disables the voice FX provided by the Synervoz SDK. However, you can customize these buttons as you wish using the Android UIKit.
Conclusion
You now have a video call app complete with the new extension from Synervoz!
There are other extensions I’d encourage you to try out, and they can all be found here.
The same settings can be applied to an application made directly with the Agora SDK, but you will need to make sure you’re using the 4.x version of the SDK. Details can be found here.
Testing
You can try out this app by following the GitHub link. After cloning the repo just run the app on a physical Android device to test out the application.
Other Resources
To learn more about the Agora Android SDK and other use cases, see the developer guide here.
You can also have a look at the complete documentation for the functions discussed above and many more here.
And I invite you to join the Agora Developer Slack community.


