
Video calling has become an essential feature in today’s digital landscape. Whether it’s for remote work, online education, or staying connected with loved ones, the ability to communicate face-to-face over the internet is crucial. As a developer, you might be looking for a reliable solution to integrate video calling into your NextJS application. Look no further! In this article, we will explore how to implement a video call feature using the Agora React SDK.
What We Will Use
Of course, we need the NextJS framework, since it is the topic of this article.
We will use Agora for the video call portion of the app. Specifically, we will use the agora-rtc-react package. This package is a React SDK for interfacing with Agora.
We will use Tailwind CSS for minor styling of the application.
Create an Agora Account
Sign up for an Agora account, and log in to the dashboard.
Navigate to the Project List tab under the Project Management tab. Create a project by clicking the blue Create button.
Retrieve the App ID, which we’ll use to authorize the app requests as we develop the application.
Initialize the NextJS Project
- Create your NextJS project by using
npx create-next-app@latest. - Add Tailwind CSS when prompted by the NextJS installer.
- Add the Agora UI Kit by using
npm install agora-rtc-react. - Add
PUBLIC_AGORA_APP_ID = '<---Your App Id--->'to your.envfile.
Structure of the Project
Folder Structure
Building a Form with NextJS
‘use client’
The form we want to build is a very simple form, where we take the input from the user and route the user to the channel/<form input here> route of the website.
This needs to happen client side because you are receiving the input from the user, and based on that input send them to a new route. For that, we will use the useRouter hook from next/navigation. And to use it client side we have to add 'use client' at the top of our file.
Form UI
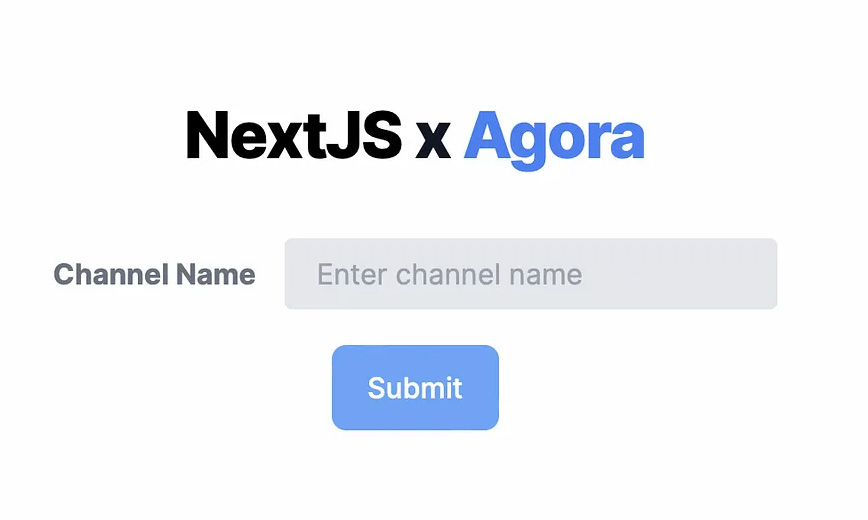
The next step is creating the UI for the form input. For this, we create a form element with an input element named “channel”.
All the magic happens in the form’s onSubmit method where we can access the data( e) from the submit action. Whenever a form is submitted, the default action is to reload the page, however, since we want to lead a user to a new page we want to handle this action manually. Using e.preventDefault() we can stop the default page refresh.
The next step is to reroute our app to the appropriate channel page. We first define a variable called target which asserts that we have a "channel" value in our form event.
And lastly using the router we imported from next/navigation we can route this page to /channel/<inputted channel name>
Our form should look like this:
Call Page
In the Call component that we will build with the agora-rtc-react package, we want to print the name of the channel we have joined.
The redirect we used in the previous section is dynamic, and it will be different depending on the channelName we entered. To handle this in Next, we need to create a channel folder and a [channelName] folder within, and a page.tsx file . The square brackets signify that the dynamic channel name in our URL will be passed as a parameter in this component.
Folder Structure
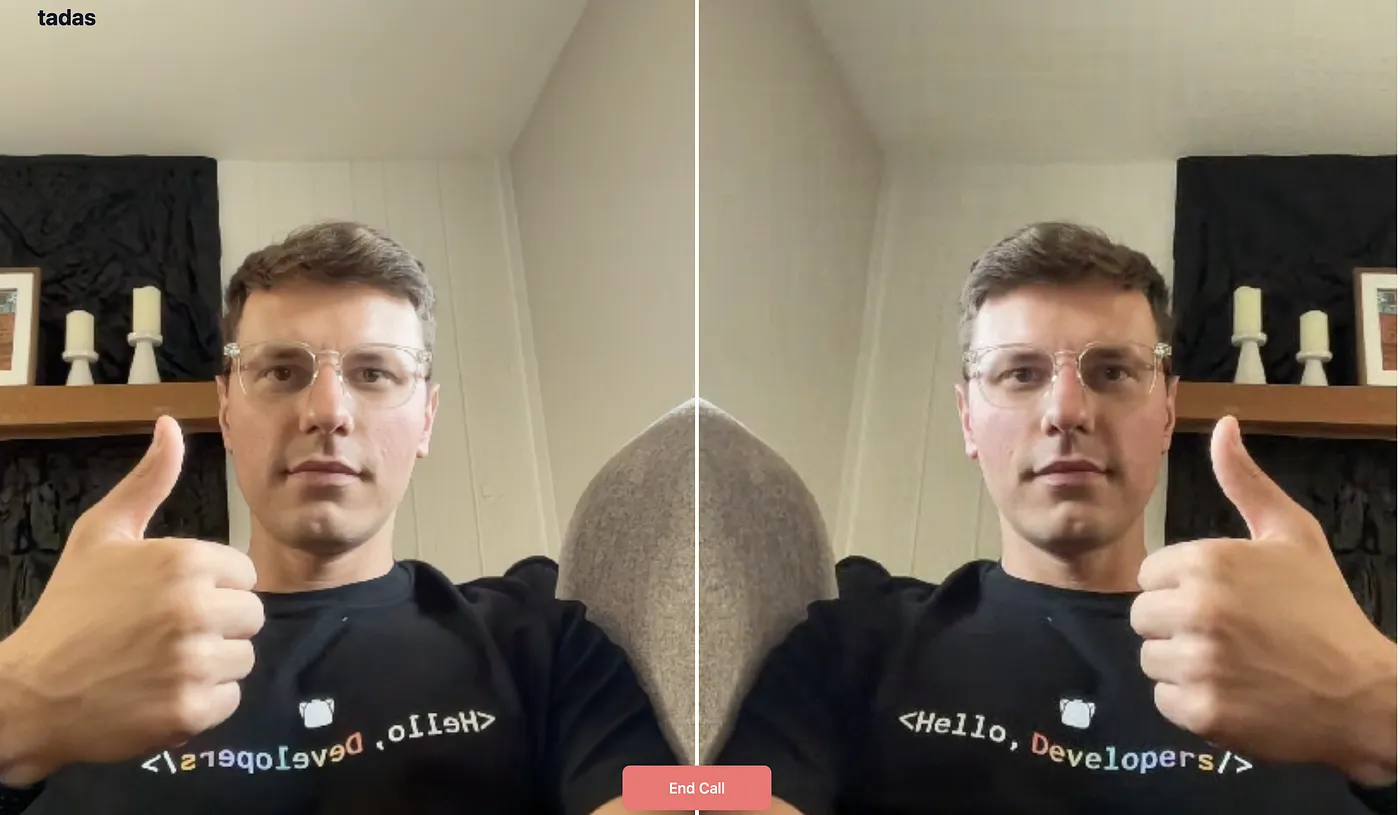
So we retrieve the channel name from our params and display it in the top left of our screen above the video call component that we will cover next.
Add the Call Component
The Call component will contain two key parts:
- Videos of all the participants
- End call button
The more challenging part is displaying the videos of all the participants. To do that we need to create our Agora client and pass it to the AgoraRTCProvider, which initializes and gives us access to the Agora RTC service. Inside this, we can now display the videos component and an end-call button:
Videos
The Videos component will be the part of the site that displays the videos of all the participants. Many hooks are used to set up the call:
- useLocalMicrophoneTrack() retrieves the current user’s microphone.
- useLocalCameraTrack() retrieves the current user’s video input.
- useRemoteUsers() retrieves all the user information for the remote users.
- useRemoteAudioTracks() retrieves the audio for those users.
- usePublish() publishes the current user’s video and audio.
- useJoin() joins the channel for the video call.
Our final video call should look like this:
Summary
With that, we have a complete video call experience. Here’s how we built it:
- Create our NextJS project with Tailwind.
- Install the Agora SDK.
- Create a form to input the channel name.
- Redirect the site to a URL with the channel name.
- Display the channel name with a video call.
The code for this project can be found here. You can find out more about Agora video calling here.
Thank you for reading!


