

声网 SDK 引入了虚拟背景扩展,可以对视频通话中的通话背景应用颜色、图像或背景模糊。本文将教大家通过声网 Web UIKit 中使用这个扩展。如果没有 UIKit,可以使用文末的代码片段使用该扩展。
前期准备
设置
你可以直接使用 GitHub 上的示例代码,也可以自行创建一个 React 项目。然后,打开终端并执行下列代码:
npx create-react-app demo --template typescript
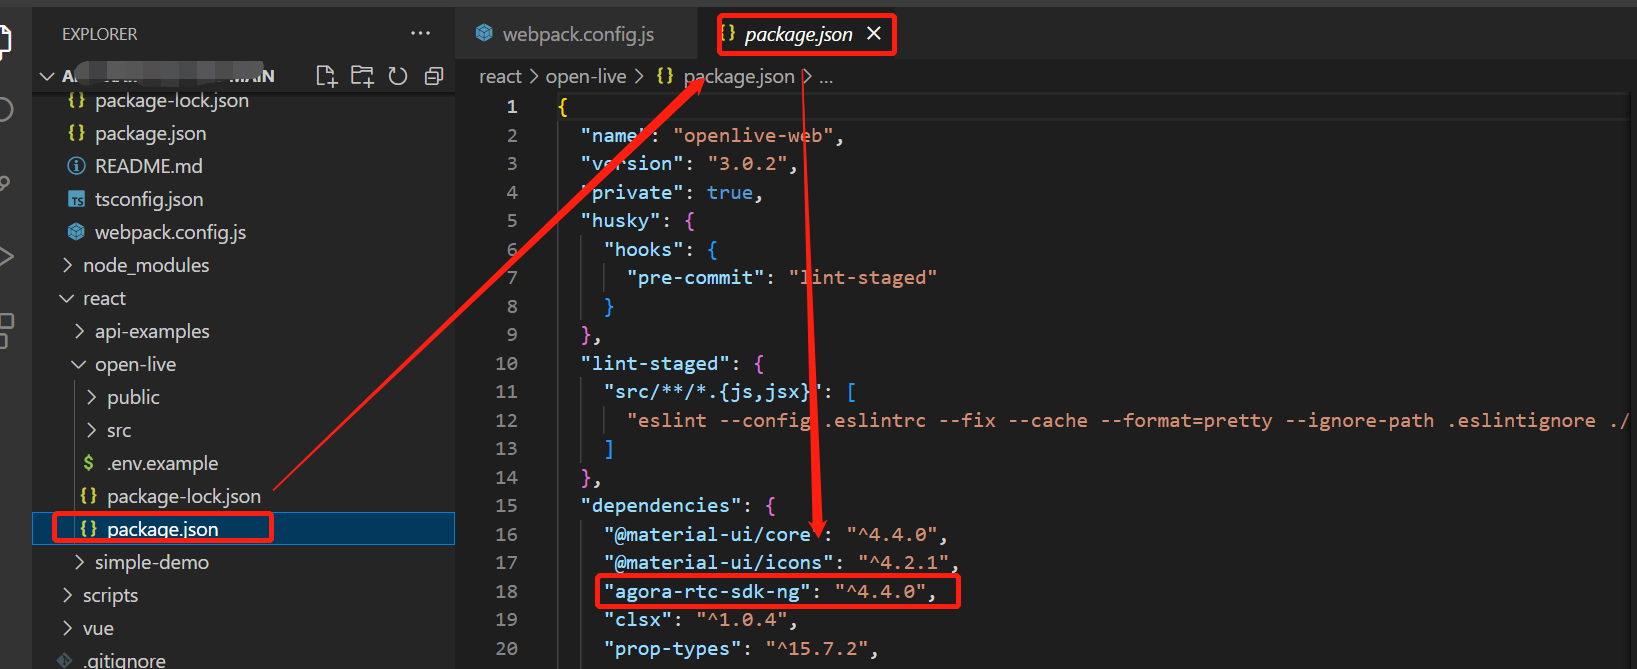
cd demo安装声网 React UIKit 和虚拟背景扩展:
npm i agora-react-uikit agora-extension-virtual-background*说明:撰写本文时,agora-react-uikit 的最新版本是 v1.1.0。
设置完成后,执行 npm start 来启动 localhost 上的 web 服务器。
构建直播推流
使用 UIKit 可以访问 <AgoraUIKit> 高级组件,我们可以用这个高级组件渲染整个视频通话或直播推流。
我们使用模块化组件来组成视频通话并添加虚拟背景功能。
清除 App.tsx 文件:
import React, { CSSProperties, useState } from 'react'
import { PropsContext, GridVideo, LocalControls, RtcConfigure, TracksConfigure, RtmConfigure, RemoteMutePopUp, LocalUserContext } from 'agora-react-uikit'
import VirtualBackground from './VirtualBackground'
import 'agora-react-uikit/dist/index.css'

const App: React.FunctionComponent = () => {
  const [videocall, setVideocall] = useState(true)

  return (
    <div style={styles.container}>
      <h1 style={styles.heading}>Agora React Web UI Kit</h1>
      {videocall ? (
        <>
          <PropsContext.Provider value={{
            rtcProps: {
              appId: '<Agora App ID>',
              channel: 'test',
              token: null, // add you channel token if using secured mode
            },
            callbacks: {
              EndCall: () => setVideocall(false),
            }
          }} >
...
创建一个名为 videocall 的状态变量,当此状态变量为 true 时,我们将渲染 videocall;当它为 false 时,我们将渲染一个按钮,用来切换应用程序的状态并启动推流。
为了构建视频通话,我们用 PropsContext 组件进行封装,这样可以将用户道具传递给 UIKit。然后,把声网 App ID、频道名称和 token 等道具添加到 rtcProps 中。 当用户点击结束通话按钮时,我们把 videocall 的状态切换为 false。
注意:建议所有处于生产环境的 RTE 应用使用 Token 认证。如果想了解更多关于声网平台 Token 认证的信息,请参阅本指南: https://docs.agora.io/en/Video/token?platform=All%20Platforms。
...
            <TracksConfigure>
              <RtcConfigure>
                <LocalUserContext>
                  <RtmConfigure>
                    <VirtualBackground />
                    <RemoteMutePopUp />
                    <GridVideo />
                    <LocalControls />
                  </RtmConfigure>
                </LocalUserContext>
              </RtcConfigure>
            </TracksConfigure>
          </PropsContext.Provider>
        </>
      ) : (
        <div style={styles.nav}>
          <h3 style={styles.btn} onClick={() => setVideocall(true)}>Start Call</h3>
        </div>
      )}
    </div>
  )
}

const styles = {
  container: { width: '100vw', height: '100vh', display: 'flex', flex: 1, backgroundColor: '#007bff22', flexDirection: 'column' } as CSSProperties,
  heading: { textAlign: 'center' as const, marginBottom: 0 },
  nav: { display: 'flex', justifyContent: 'space-around' },
  btn: { backgroundColor: '#007bff', cursor: 'pointer', borderRadius: 5, padding: 5, color: '#ffffff', fontSize: 20 }
}

export default App
我们使用 UIKit 的内置组件来封装应用程序,这些组件可以帮助我们访问 UIKit 的数据,还可以处理大量视频通话逻辑。我们使用 TrackConfigure 来访问本地音轨,使用 RtcConfigure 来处理呼叫逻辑,使用 LocalUserContext 处理本地用户状态,使用 RtmConfigure 处理信令逻辑。
在 UIKit 中渲染这些组件:
RemoteMutePopup: 显示静音请求弹出窗口;
GridVideo: 渲染网格中的用户视频;
LocalControls: 渲染本地音轨的静音/取消静音控件。
另外,我们还会添加一个新的 VirtualBackground 组件。
使用声网虚拟背景扩展
为保证虚拟背景的性能,声网使用了 WebAssembly(WASM) 模块,因此我们需要托管 WASM 文件——可以通过 CDN 单独托管,或者将其与网站捆绑。现在,我们来创建 VirtualBackground 组件:
import VirtualBackgroundExtension, { IVirtualBackgroundProcessor } from "agora-extension-virtual-background";
import AgoraRTC from 'agora-rtc-sdk-ng';
import { TracksContext } from 'agora-react-uikit';
import { useContext, useEffect, useState, useRef } from 'react';

const VirtualBackground = () => {
  const [extensionActive, setExtensionActive] = useState(false);
  const { localVideoTrack } = useContext(TracksContext)
  const ext = useRef(new VirtualBackgroundExtension())
  const processor = useRef<IVirtualBackgroundProcessor>();
...
首先,我们需要创建一个状态变量 extensionActive 来启用/禁用虚拟背景。
然后,通过 TracksContext 访问 localVideoTrack,创建一个 VirtualBackgroundExtension 实例,命名为 ext,再创建一个 ref 来存储背景处理器。
...
  useEffect(() => {
    const initExtension = async () => {
      AgoraRTC.registerExtensions([ext.current]);
      processor.current = ext.current.createProcessor()
      await processor.current.init('<Path to WASM module>')
    }
    initExtension()
  }, [])
...
接下来,在 useEffect 中调用 registerExtensions 方法初始化扩展,然后调用 createProcessor 方法,并将其分配给处理器 ref,然后用 WASM 文件的路径调用 init 方法,可以是绝对的 URL,也可以是相对的。
...
  const enableBackground = async () => {
    if (processor.current && localVideoTrack) {
      localVideoTrack.pipe(processor.current).pipe(localVideoTrack.processorDestination);
      processor.current.setOptions({ type: 'color', color: '#ff00ff' });
      await processor.current.enable();
      setExtensionActive(true)
    }
  }

  const disableBackground = async () => {
    if (processor.current && localVideoTrack) {
      localVideoTrack.unpipe()
      await processor.current.disable()
      setExtensionActive(false)
    }
  }
...
然后,创建 enableBackground,把 localVideoTrack 输送到 processor,processor 会被传递到 track 的processorDestination。
使用 setOptions 方法来定义虚拟背景,本示例使用的是粉红色,你也可以使用模糊效果或图像。接下来,启用处理器并更新状态。
对于 disableBackground 函数,我们只需在更新状态前解除本地音轨的频道,并禁用处理器。
...
  return (
    <div style={btn} onClick={() => {
        extensionActive ? disableBackground() : enableBackground()
    }}>
      {extensionActive ? 'Disable Virtual Background' : 'Enable Virtual Background'}
    </div>
  )
}

const btn = { backgroundColor: '#007bff', cursor: 'pointer', borderRadius: 5, padding: 5, color: '#ffffff', fontSize: 16, margin: 'auto', paddingLeft: 50, paddingRight: 50, marginBottom: 20, marginTop: 10}

export default VirtualBackground;
对于用户界面,我们会渲染一个 div 元素,调用正确的方法并根据我们的状态来切换效果。
如果你不使用 UIKit,可以使用下面的代码:
import AgoraRTC, {ILocalVideoTrack} from 'agora-rtc-sdk-ng';
import VirtualBackgroundExtension from 'agora-extension-virtual-background';

const enableVirtualBackground = async (videoTrack: ILocalVideoTrack) => {
    const extension = new VirtualBackgroundExtension();
    AgoraRTC.registerExtensions([extension]);
    const processor = extension.createProcessor();
    await processor.init("<Path to WASM module>");
    videoTrack.pipe(processor).pipe(videoTrack.processorDestination);
    processor.setOptions({type: 'color', color: '#00ff00'});
    await processor.enable();
}
总结
以上就是使用声网 Web UIKit 中和基于 WebAssembly 的声网 Extension 实现虚拟背景的步骤。如果你想了解更多关于如何定制 UIKit 的设计和功能(例如,你可以用它来直播),可以查看这篇文章。
如果你在使用这个项目或声网 Web UIKit 时有问题,欢迎加入声网开发者社区,在社区中交流提问。
原文作者:Ekaansh Arora
原文链接:https://www.agora.io/en/blog/use-virtual-backgrounds-in-your-video-chat-website-with-the-agora-web-uikit/